
As the crisp breezes of autumn sweep across the country and leaves transform into vibrant shades of amber and crimson, the seasonal craving for classic fall treats naturally follows. Among the most iconic symbols of the harvest season is the caramel apple—a nostalgic delicacy that bridges childhood memories with autumnal culinary traditions. While traditional methods of making caramel apples from scratch often require tedious temperature monitoring with a candy thermometer and hours of kitchen preparation, a new, streamlined approach is revolutionizing home confectionery. Culinary enthusiasts are ditching the complex steps in favor of a foolproof, shortcut method utilizing store-bought caramels, making professional-grade gourmet caramel apples more accessible than ever.
Whether you are preparing a festive batch for a neighborhood Halloween party, packaging thoughtful handmade thank-you gifts, or simply treating your family on a cozy weekend afternoon, this simplified technique promises delicious results without the traditional hassle.
The Anatomy of the Perfect Caramel Apple: Selecting Your Base
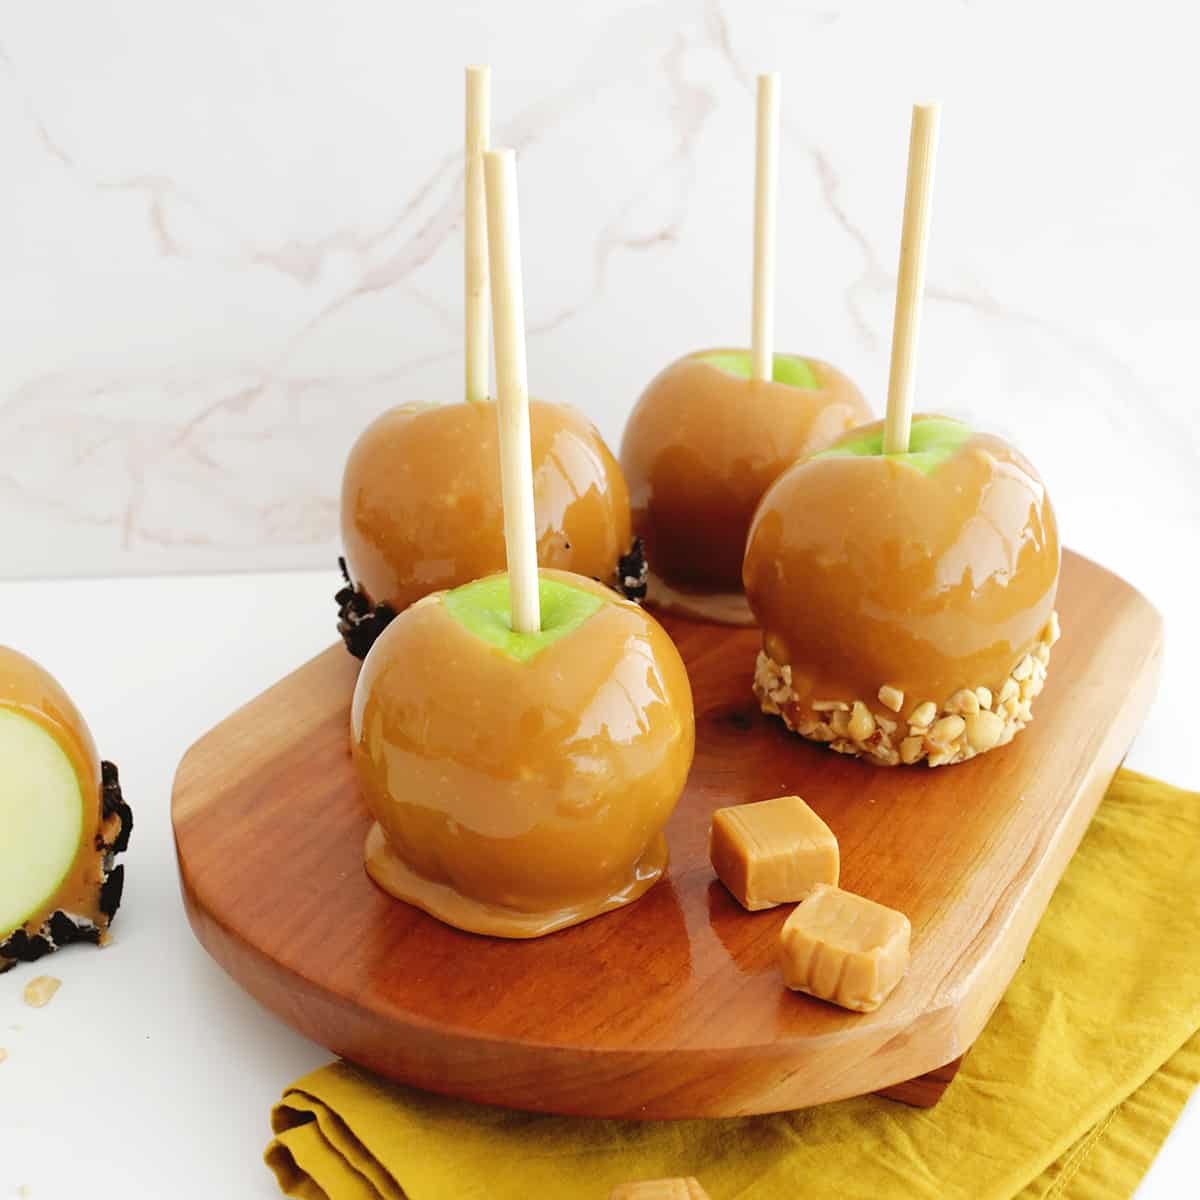
Choosing the right apple is the single most important decision you will make when crafting your treat. The ideal apple provides a structural foundation that balances the intense sweetness of the rich caramel coating.
Sweet vs. Tart: Finding Your Flavor Profile
- For Sweet Tooth Enthusiasts: If your palate prefers a sugary, harmonious flavor profile, opt for popular sweet apple varieties such as Honeycrisp, Fuji, Gala, or Pink Lady. These cultivars deliver a natural honeyed sweetness that melds seamlessly with buttery caramel.
- For a Contrasting Crunch: If you prefer a dynamic flavor profile that cuts through the rich, sugary coating, the classic Granny Smith apple remains the gold standard. Its aggressive tartness provides a brilliant, mouth-puckering contrast to the sweet caramel layer.
Texture and Size Considerations
Regardless of whether you choose sweet or tart, structural integrity is paramount. Always select firm varieties rather than softer, mealy apples like Macintosh, which will disintegrate under the weight of warm caramel. Furthermore, pay close attention to fruit size: while any standard apple will work, larger apples provide a superior fruit-to-caramel ratio, ensuring every bite is a satisfying balance of crisp fruit and chewy confection.
Essential Supplies and Ingredients
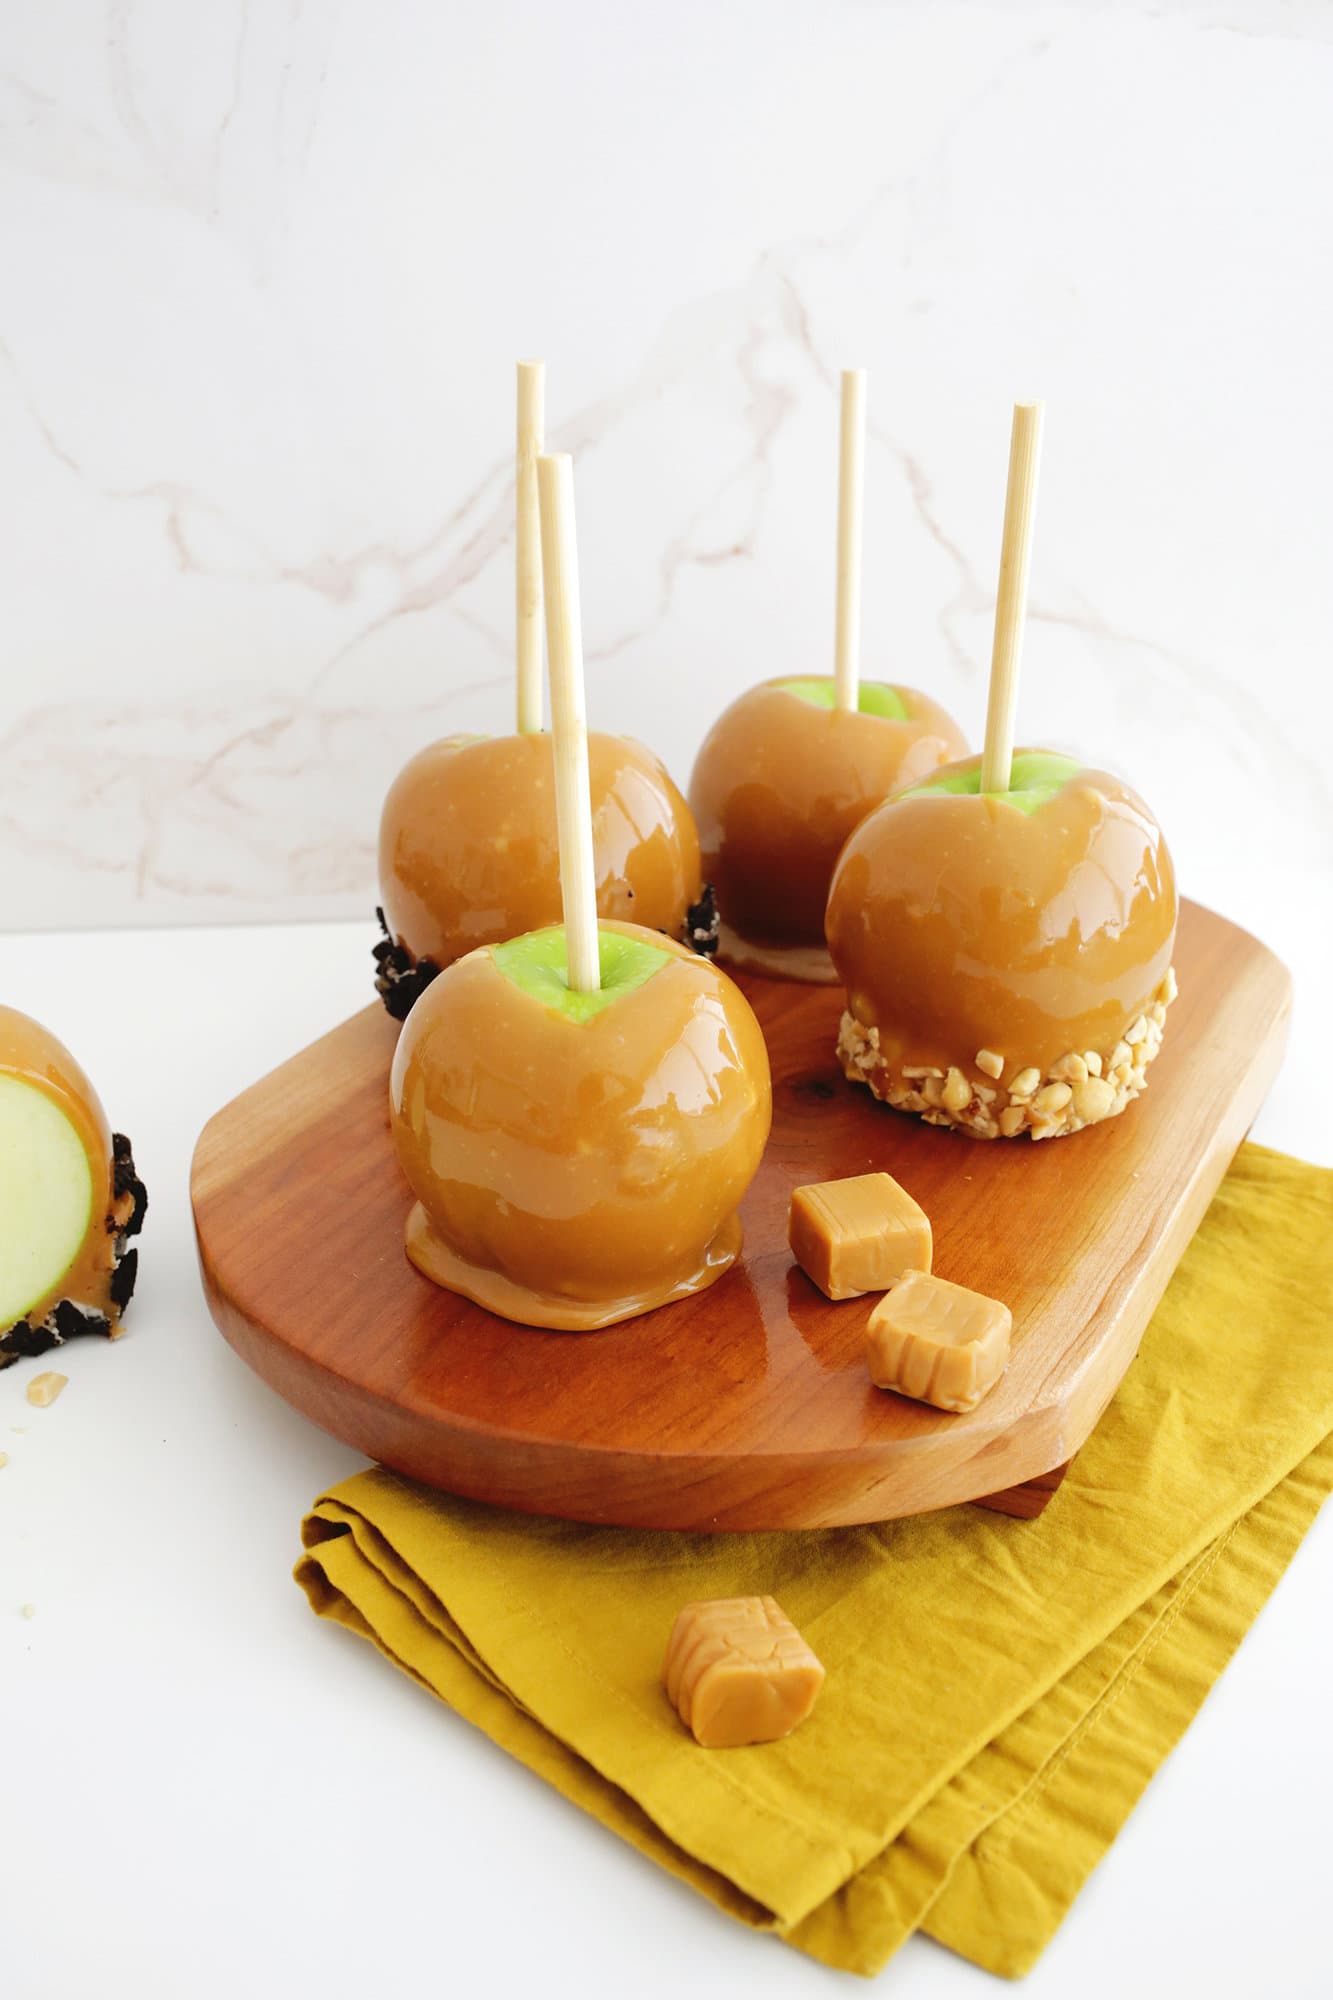
Before diving into the kitchen, ensuring you have the correct equipment and ingredients on hand will guarantee a smooth, stress-free cooking experience.
Ingredients List:
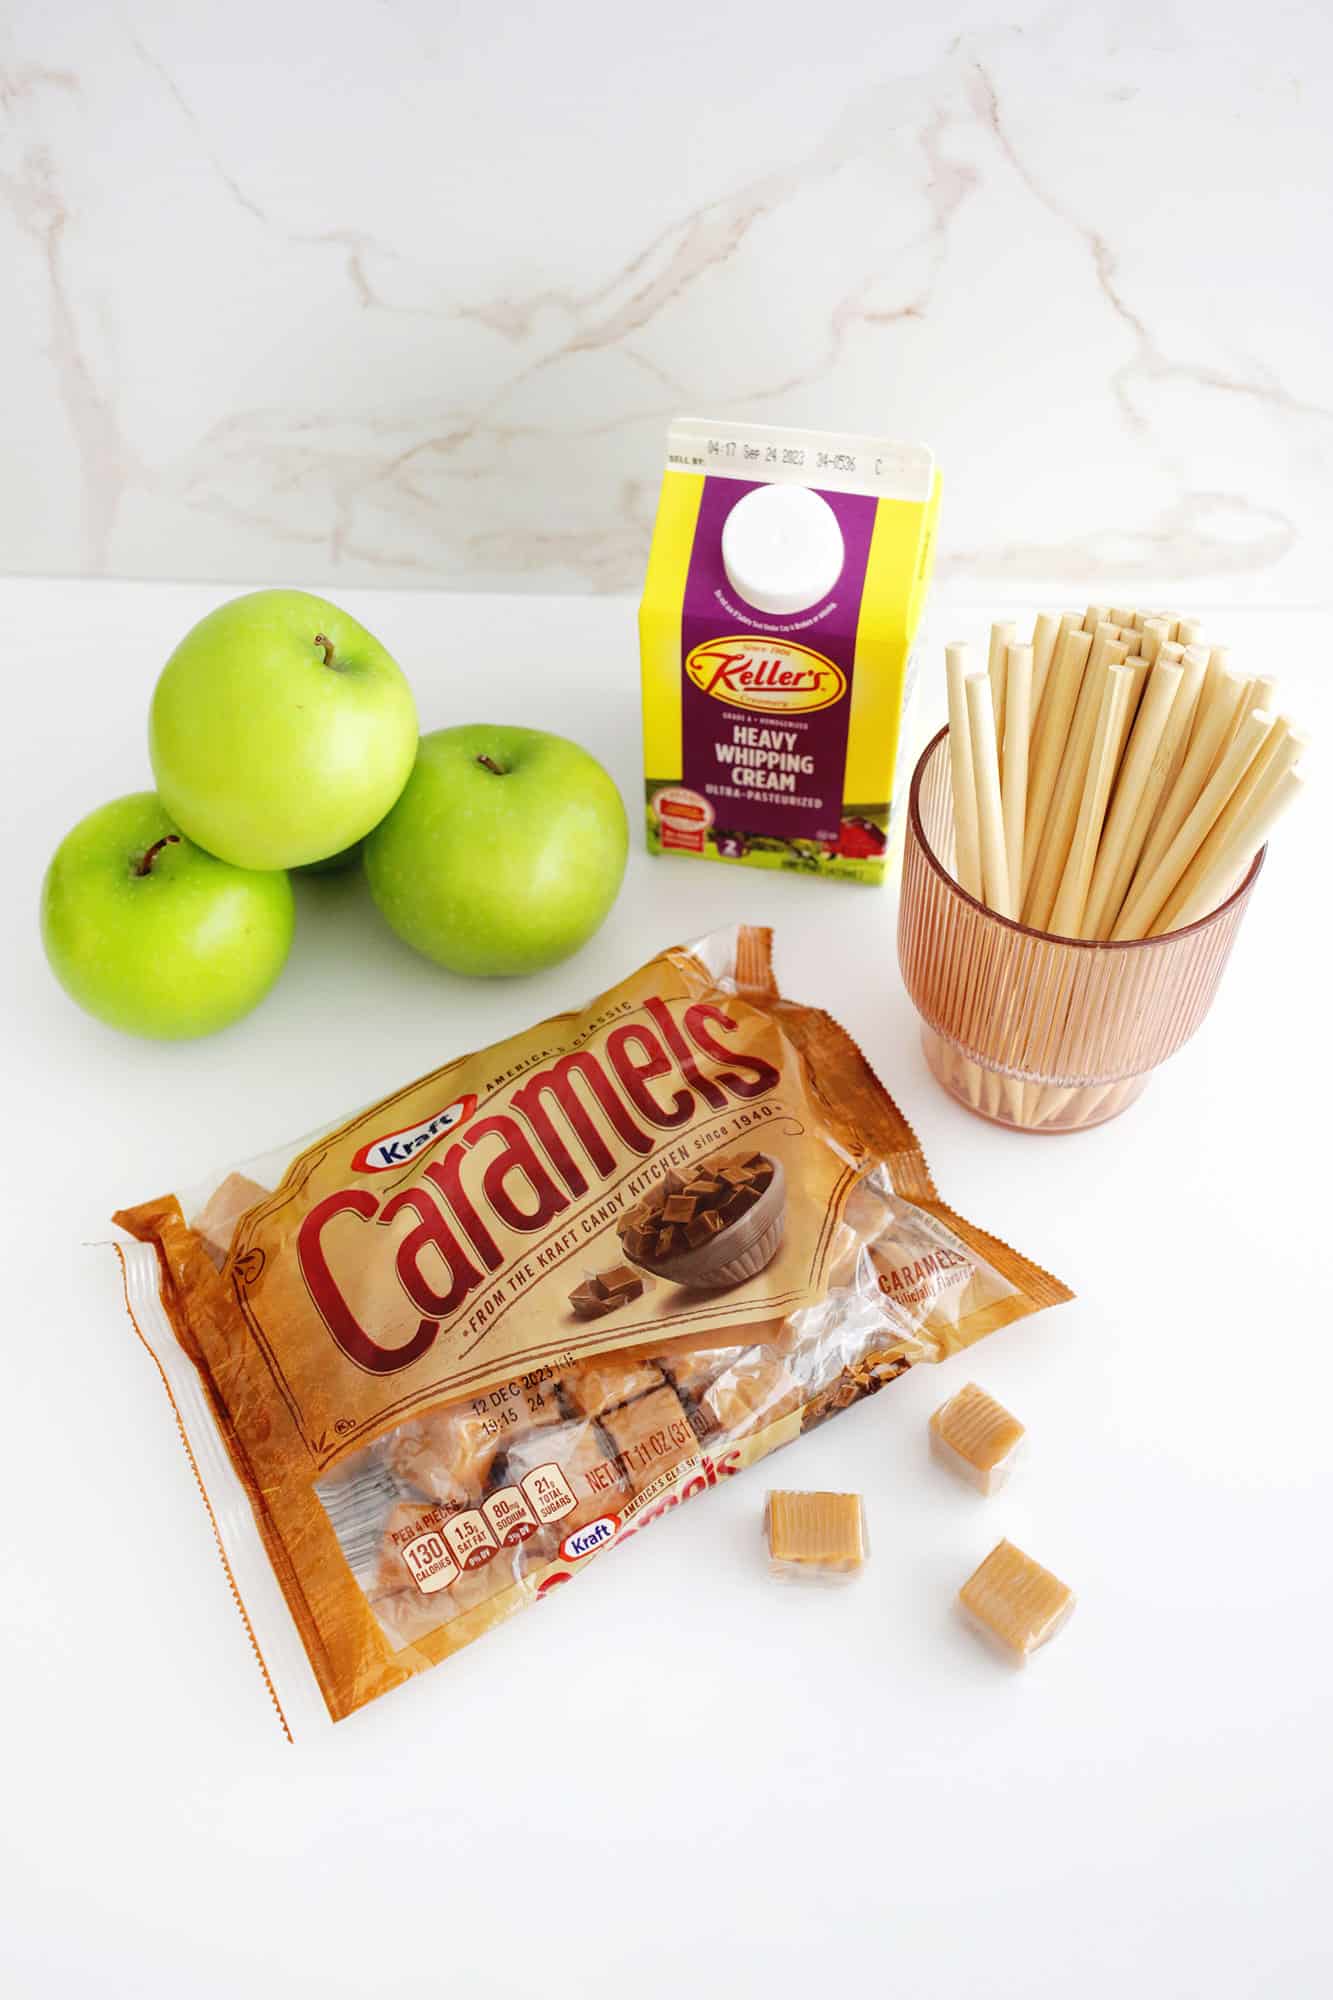
- Apples: 5 to 10 firm, fresh apples (washed, thoroughly dried, and polished to remove any wax residue).
- Caramels: 14 ounces of store-bought individually wrapped caramels (unwrapped) or caramel bits.
- Dairy: 2 to 3 tablespoons of heavy cream or whole milk (used to thin and smooth the melting caramel).
- Optional Toppings: Crushed sandwich cookies (like Oreos), chopped nuts, sprinkles, mini chocolate chips, or sea salt flakes.
Equipment Needed:
- Sturdy wooden skewers, heavy-duty craft sticks, or sturdy forks.
- A microwave-safe glass bowl or a stovetop double-boiler setup.
- A baking sheet or tray lined with parchment or wax paper.
- Non-stick cooking spray.
Step-by-Step Chronology: How to Make Caramel Apples
Achieving flawless caramel adhesion requires precision timing and careful preparation. Follow this chronological guide to master the process on your first attempt.
Phase 1: Fruit Preparation
The secret to getting caramel to stick to an apple lies in dryness. Apples naturally develop a waxy protective coating on the tree, and grocery stores often apply additional food-grade wax to enhance shelf life.
- Wash your apples thoroughly in warm water, scrubbing away any residue.
- Crucial Step: Dry the apples completely using a clean kitchen towel. Even a microscopic droplet of residual water will cause the hot caramel to slide right off the fruit.
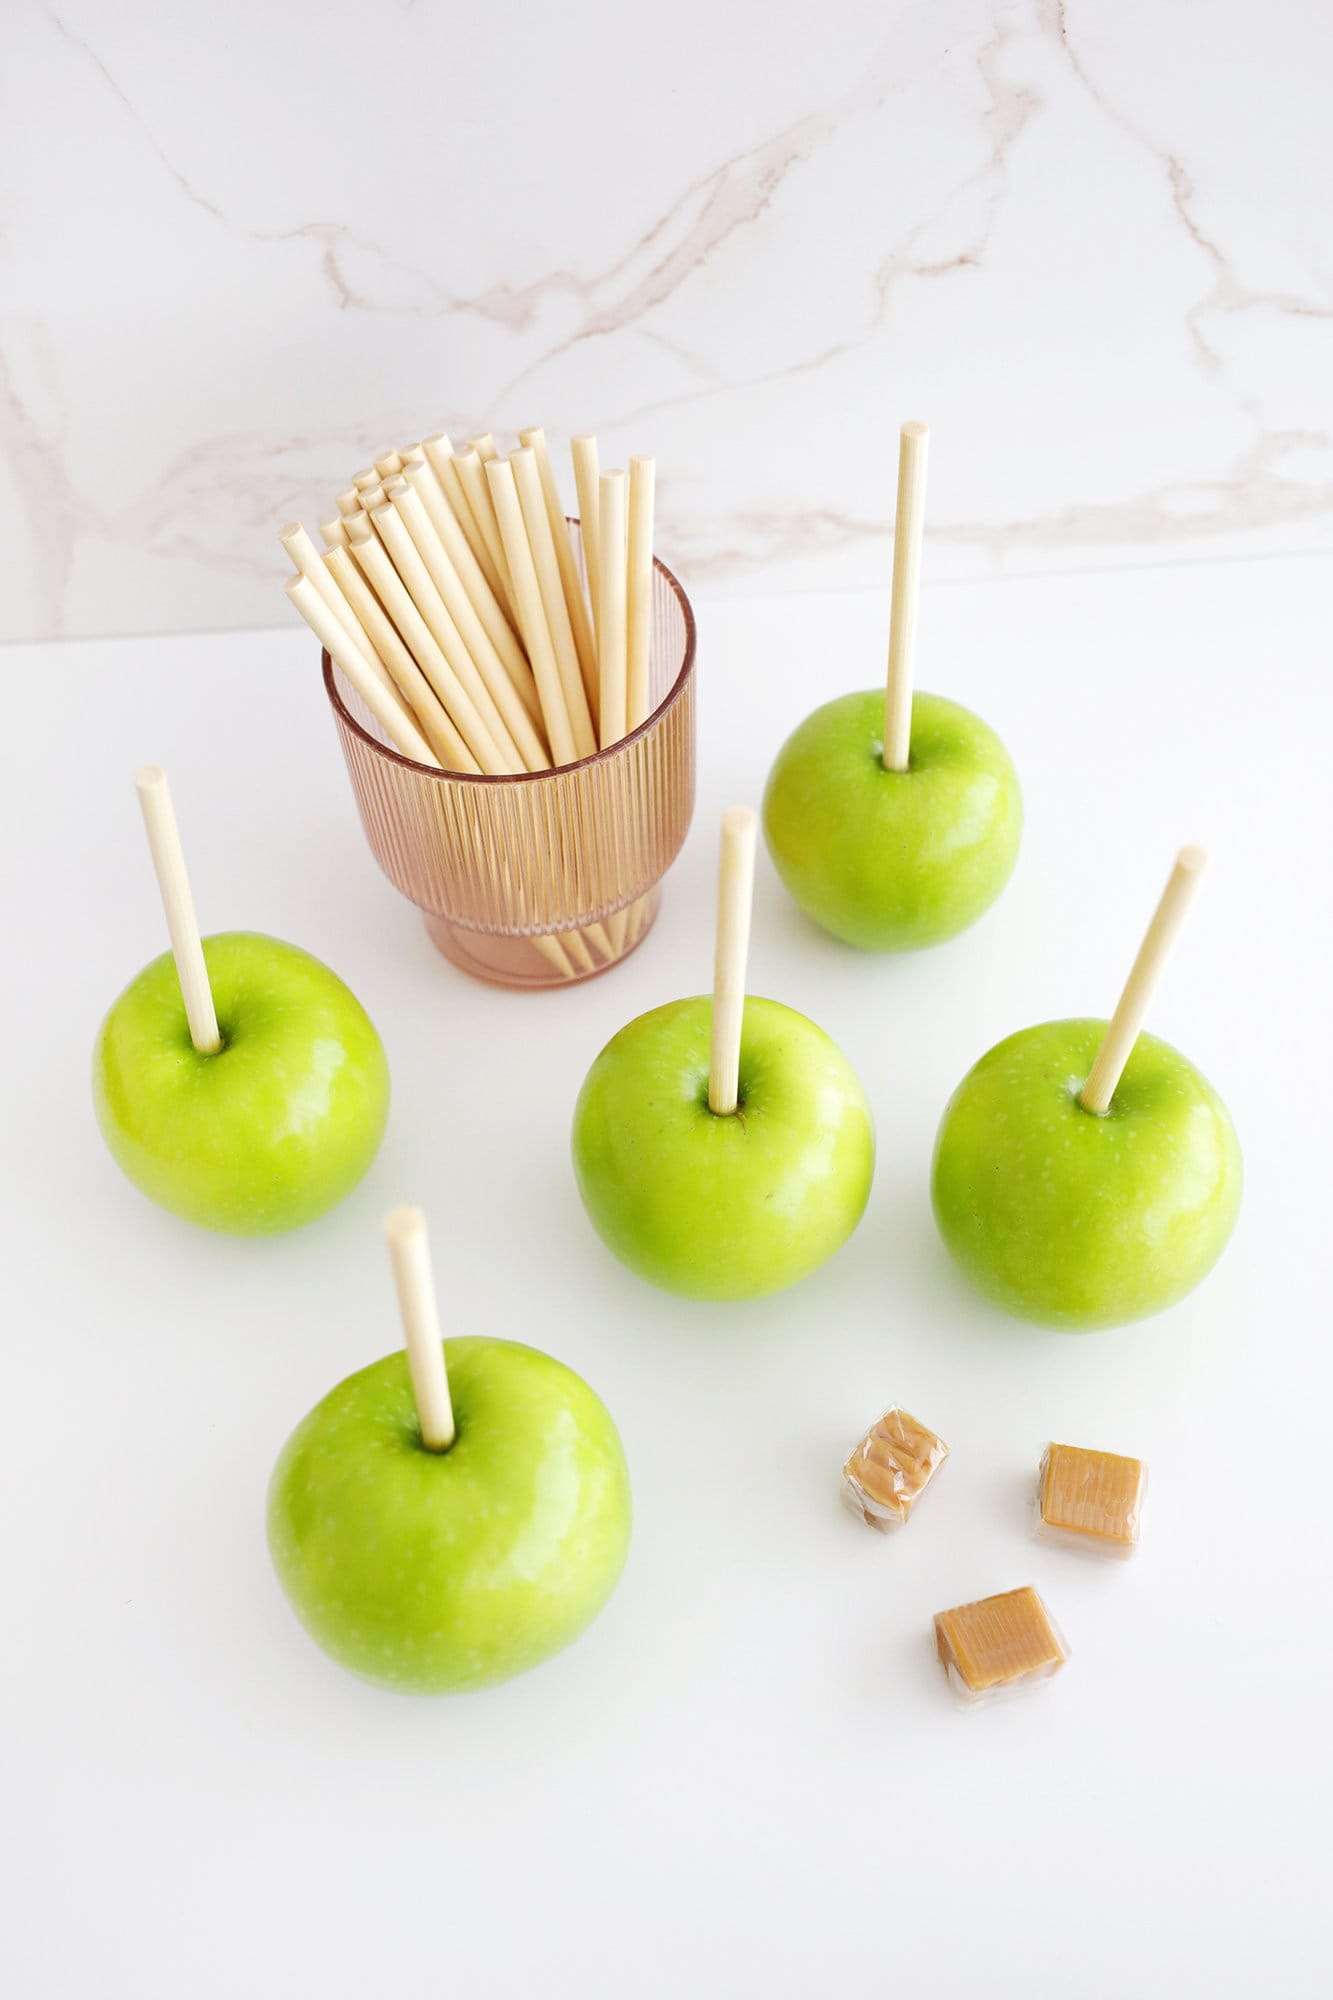
- Remove the natural stem and firmly insert your wooden skewer or sturdy fork deep into the top center of each apple, ensuring a secure grip. Set the skewered apples aside on a parchment-lined tray.
Phase 2: Melting the Caramel
While traditional recipes demand exact candy thermometer readings, using store-bought caramels bypasses this chemistry lesson entirely.
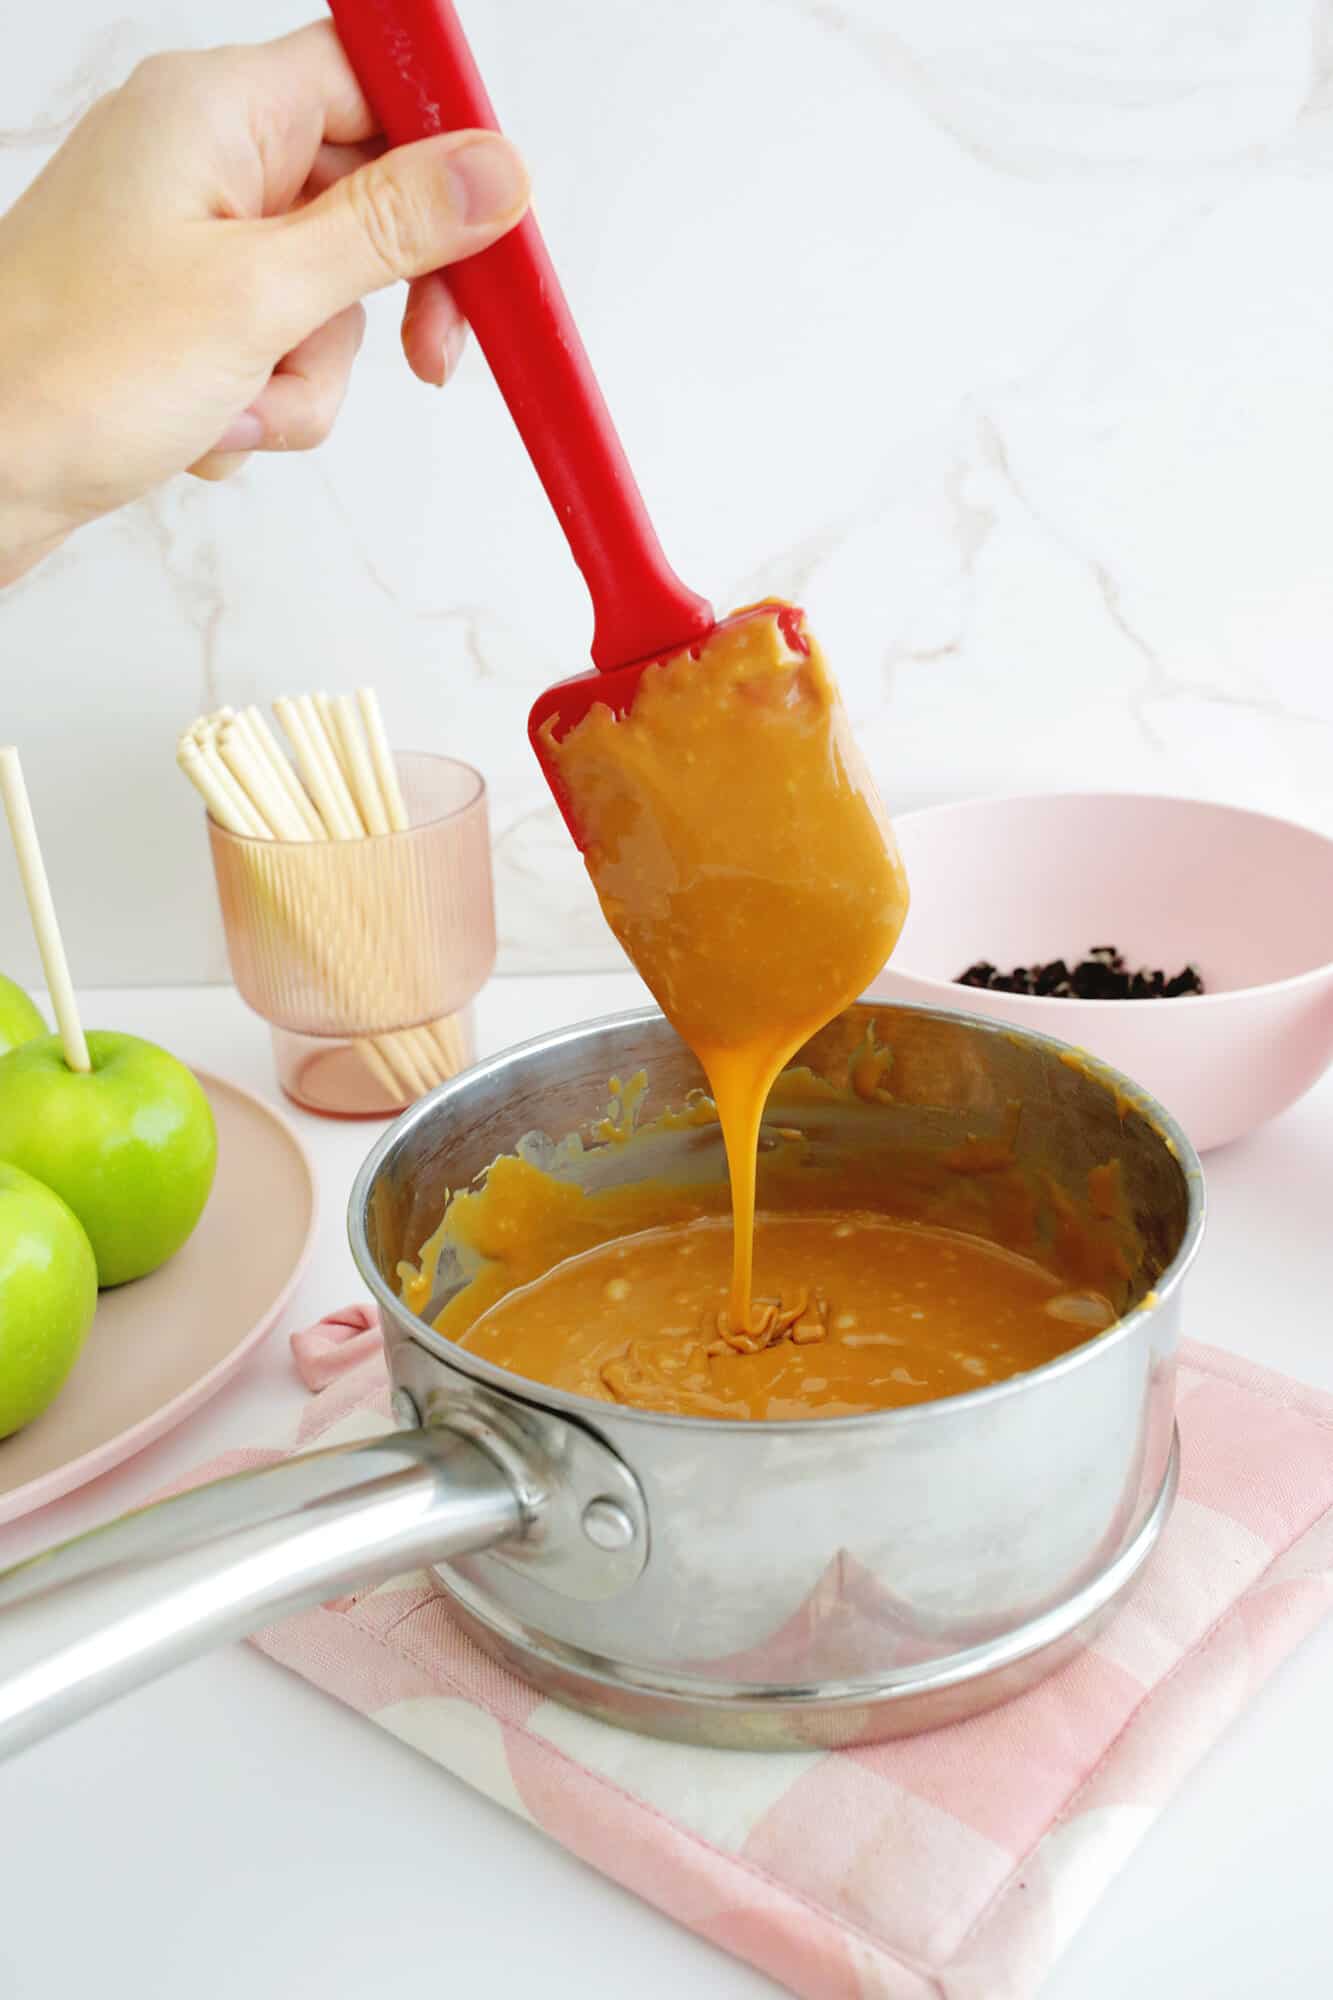
- The Microwave Method: Place your unwrapped caramels and heavy cream into a microwave-safe bowl. Heat the mixture in short, 30-second intervals, stirring vigorously between each session. Continue until the mixture transforms into a velvety, completely smooth liquid. If the resulting caramel looks too thin, let it rest undisturbed for one to two minutes to thicken naturally before dipping.
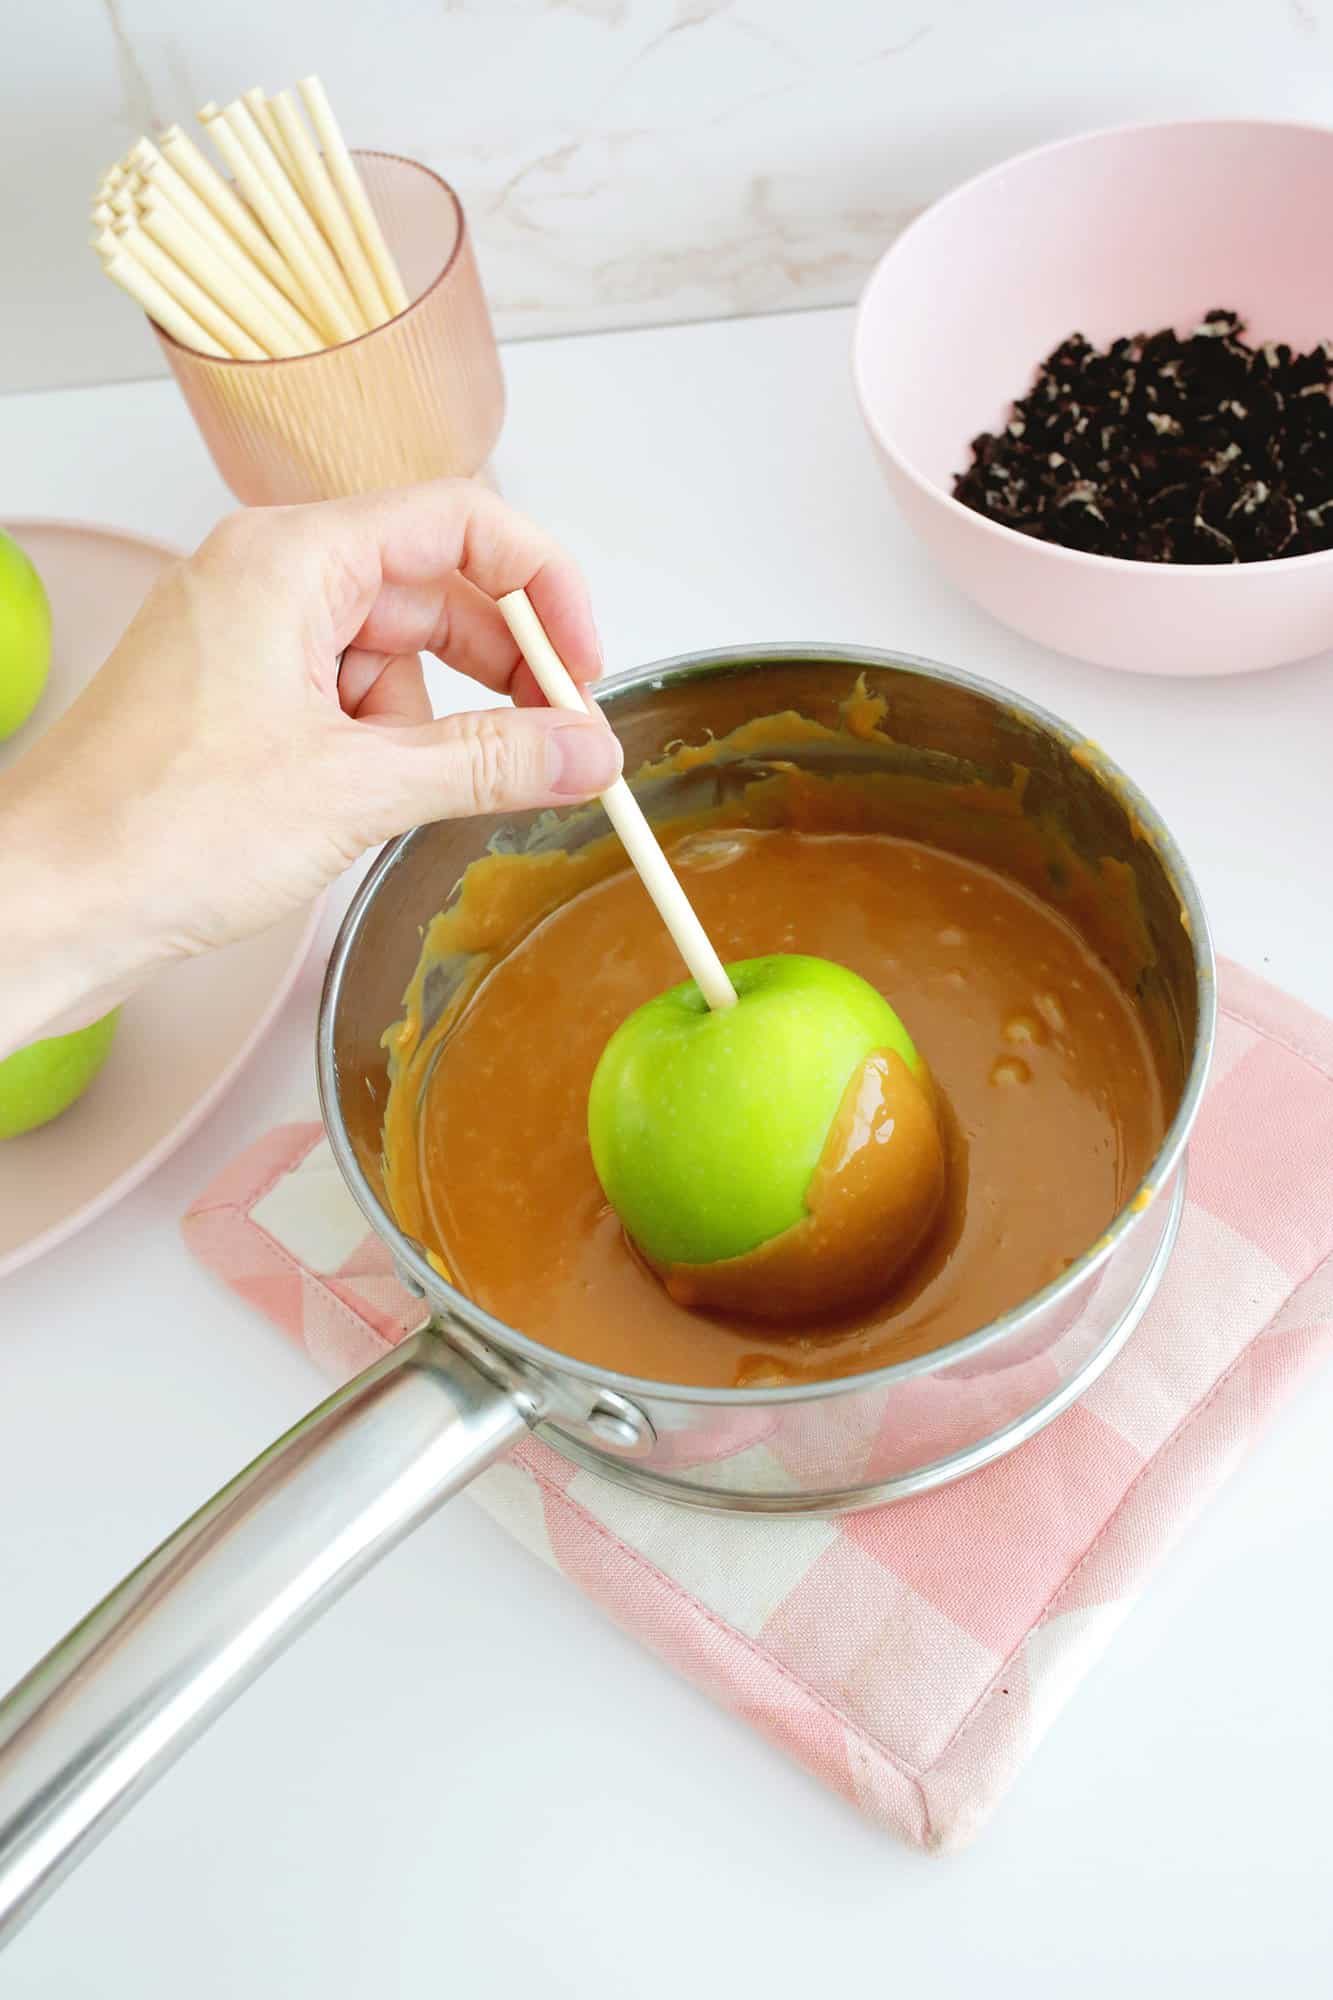
- The Stovetop Alternative: For those without a microwave, a saucepan or double-boiler works exceptionally well. Combine the caramels and milk in a saucepan over medium-low heat, stirring continuously until melted. Alternatively, place a heat-safe glass bowl over a pot of simmering water (a makeshift double boiler) and stir occasionally until smooth. Note: Stovetop melting requires patience, as it takes slightly longer than the microwave technique.
Phase 3: The Dipping Process
- Lightly mist your parchment paper-lined tray with non-stick cooking spray to prevent the finished apples from sticking.
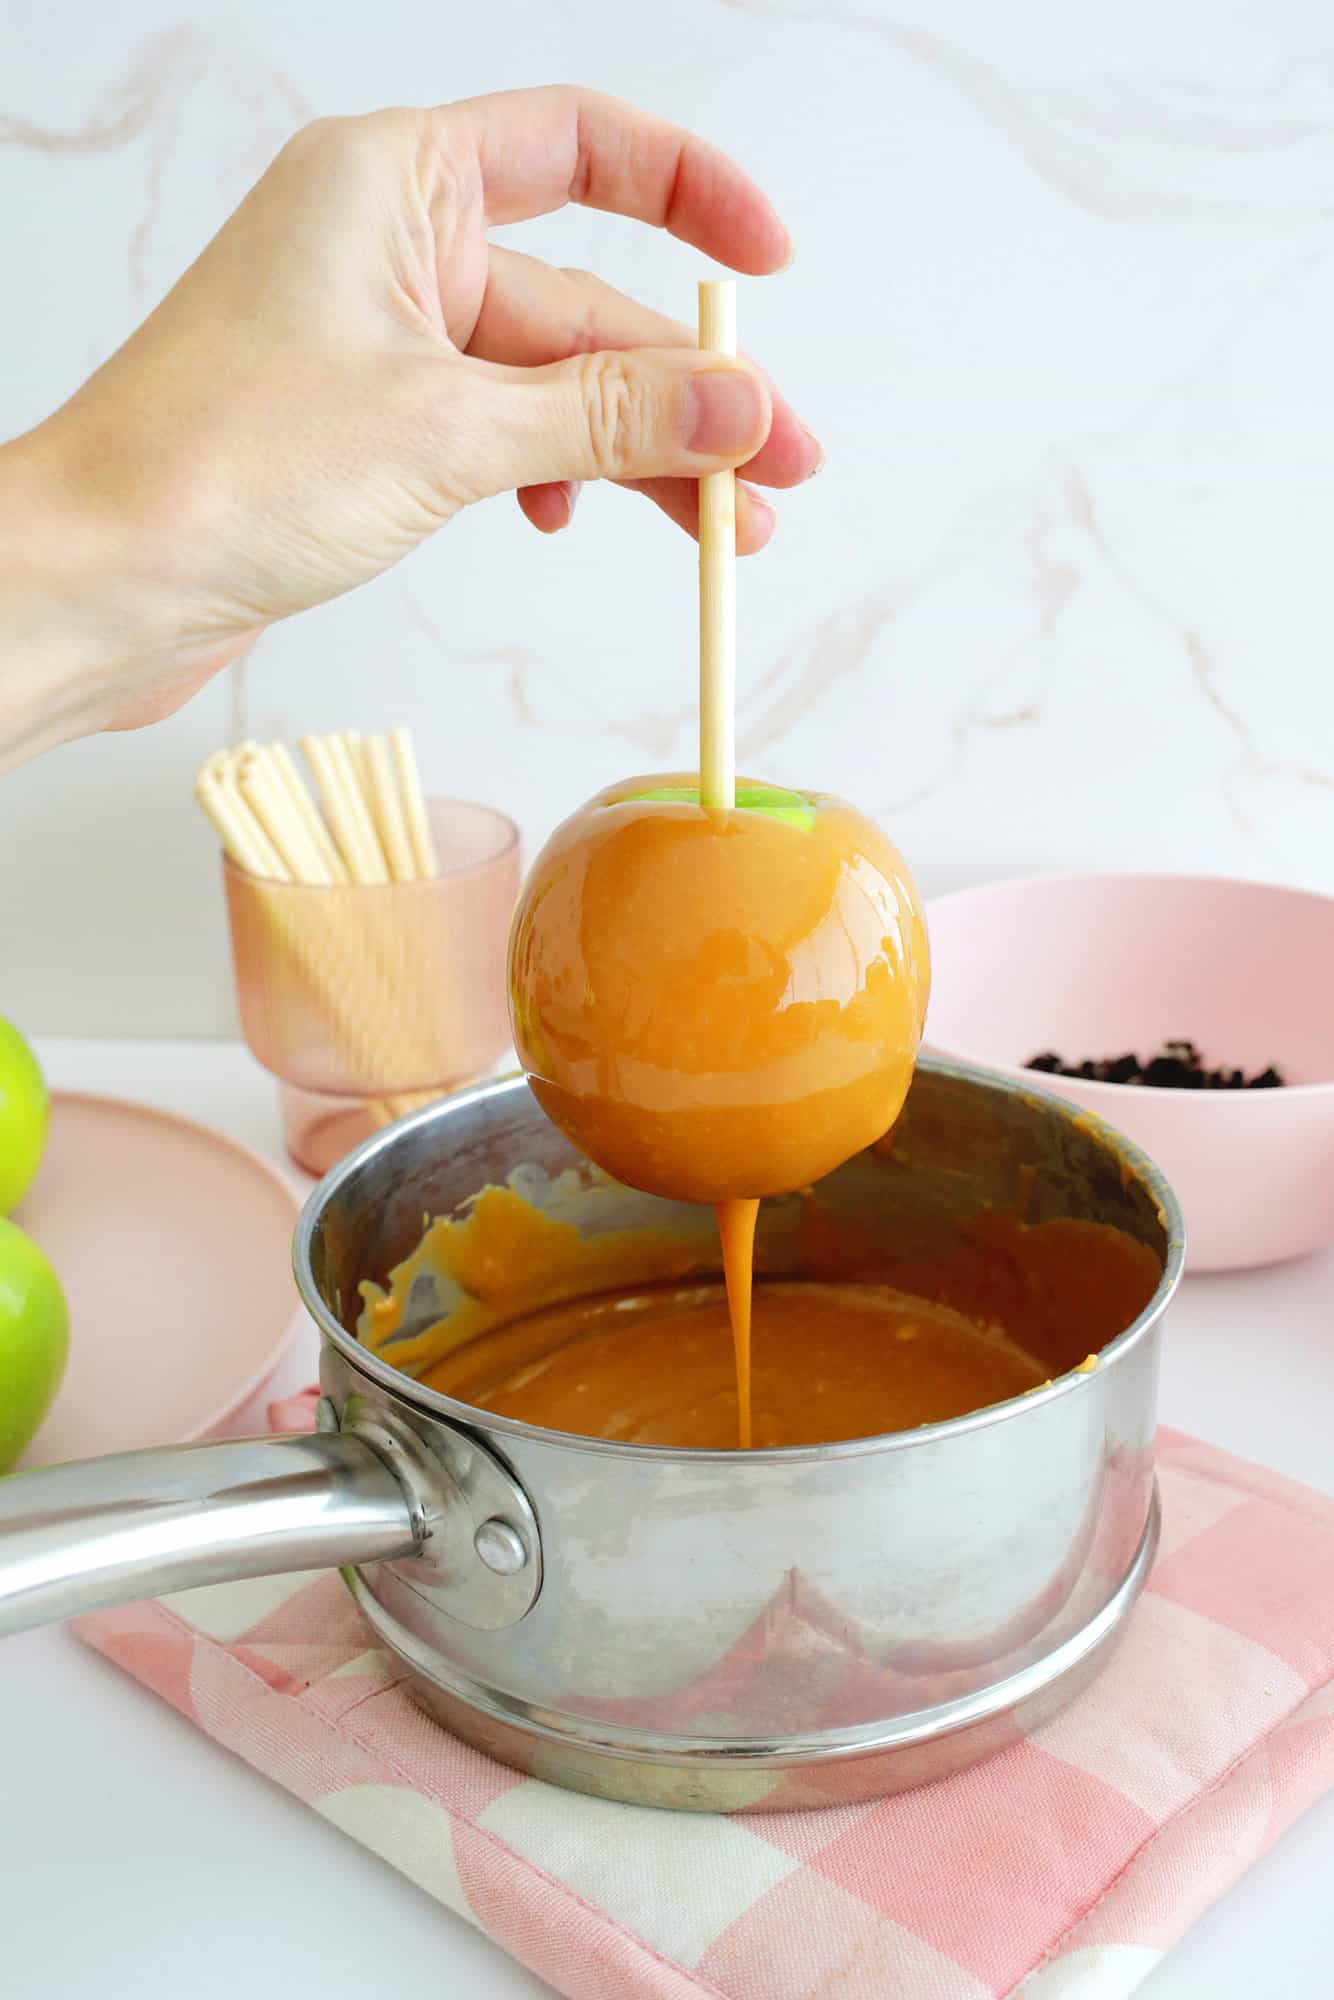
- Tilt your bowl of warm caramel at an angle. Submerge your skewered apple into the molten confection, rotating it smoothly to achieve an even, thorough coat.
- Lift the apple vertically, allowing excess caramel to cascade back into the bowl. Scrape the base of the apple against the interior rim of the bowl to remove heavy pooling at the bottom.
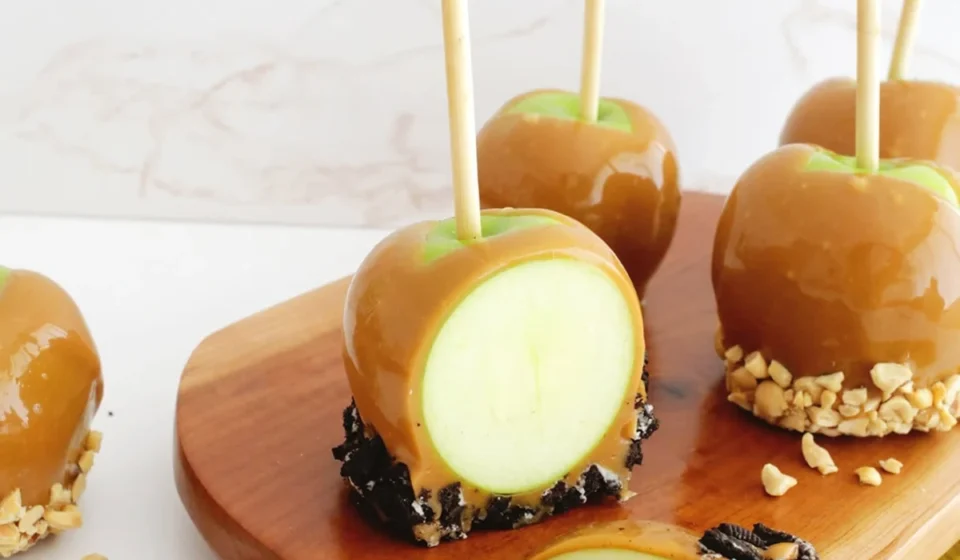
- If you plan to add gourmet toppings—such as crushed cookies or festive sprinkles—perform a secondary dip immediately while the caramel is still tacky. Roll the coated apple gently in your topping of choice.
- If the caramel begins to harden in the bowl while you work through your batch, simply return it to the microwave for 15-second intervals to restore its workable consistency.
Phase 4: Setting and Cooling
Place your freshly dipped and decorated caramel apples onto the sprayed parchment paper. Transfer the tray to the refrigerator for 15 to 30 minutes. This rapid chilling process allows the caramel to set firmly, locking in texture and preventing the coating from slowly sliding down the fruit.
Supporting Data: The Science of Caramel Adhesion
Culinary food scientists note that caramel failure—technically known as "slippage"—is the number one issue home cooks face. Slippage occurs due to two primary factors: fruit respiration (apples releasing natural moisture and gases beneath the skin) and surface wax interference.
Research indicates that washing apples in a solution of warm water and a splash of white vinegar effectively dissolves the hydrophobic plant waxes and commercial sealants found on grocery store produce. Furthermore, maintaining a melting temperature between 150°F and 160°F for store-bought caramel yields the optimal viscosity index, allowing the sugar matrix to grip the dried fruit surface securely without scorching the dairy proteins.
Official Recommendations and Expert Tips
Culinary experts and professional confectioners offer several golden rules to elevate your homemade caramel apple experience:
- Temperature Control is Key: Do not overheat your caramel. Excessive heat breaks down the emulsion of butter and sugar, resulting in a grainy texture or a burnt flavor profile.
- Pre-Chill the Fruit: For an even faster setting time, place your clean, dry apples in the refrigerator for 30 minutes before dipping them into the warm caramel. The cold temperature of the fruit helps the warm sugar set almost instantly upon contact.
- Flavor Variations: Don’t limit yourself to traditional toppings. A drizzle of melted dark chocolate over a plain caramel apple, or a sprinkle of flaky sea salt, transforms a simple snack into an upscale dessert worthy of a high-end patisserie.
Packaging, Storage, and Implications
One of the greatest benefits of homemade caramel apples is their versatility as gifts and party favors.
Storage Guidelines
When properly stored in the refrigerator, caramel apples can maintain their structural integrity and fresh taste for up to two weeks. To prepare them as gifts for Halloween parties or harvest festivals, allow the caramel to set completely in the refrigerator, then individually wrap each apple in cellophane or clear treat bags tied with a festive ribbon.
Broad Culinary Implications
The democratization of gourmet treats through shortcut cooking methods—such as substituting scratch-made caramel with high-quality store-bought alternatives—reflects a broader shift in modern home economics. As consumers balance busy schedules with a desire for authentic, handcrafted experiences, approachable recipes that bypass professional kitchen hurdles empower everyday home cooks to participate in seasonal traditions. By lowering the barrier to entry, simple culinary guides ensure that time-honored treats like the caramel apple remain a vibrant, joyful staple of autumn celebrations for generations to come.