

Mastering the Great Outdoors: Essential Gear and Techniques for Landscape Photography
The age-old mantra in photography remains as true today as it was in the era of film: "The best camera is the one you have with you." It is an empowering sentiment that reminds us that creative vision, light, and composition will always outweigh the price tag on a camera body. With a solid understanding of fundamental rules—many of which are outlined in comprehensive guides to better photography—any photographer can capture breathtaking images with the equipment currently in their bag.
However, as you transition from a casual observer to a dedicated landscape photographer, you will inevitably encounter physical and technical limitations. Whether you are aiming to capture the ethereal motion of a waterfall, seeking to eliminate distracting glare from a mountain lake, or struggling to retain detail in the highlights and shadows of a high-contrast sunrise, you will eventually reach a point where your current kit requires a strategic upgrade. Moving from "taking snapshots" to "crafting landscapes" often requires a specific set of tools designed to stabilize, modify, and plan your vision.
The Foundation: Choosing the Right Camera for Dynamic Range
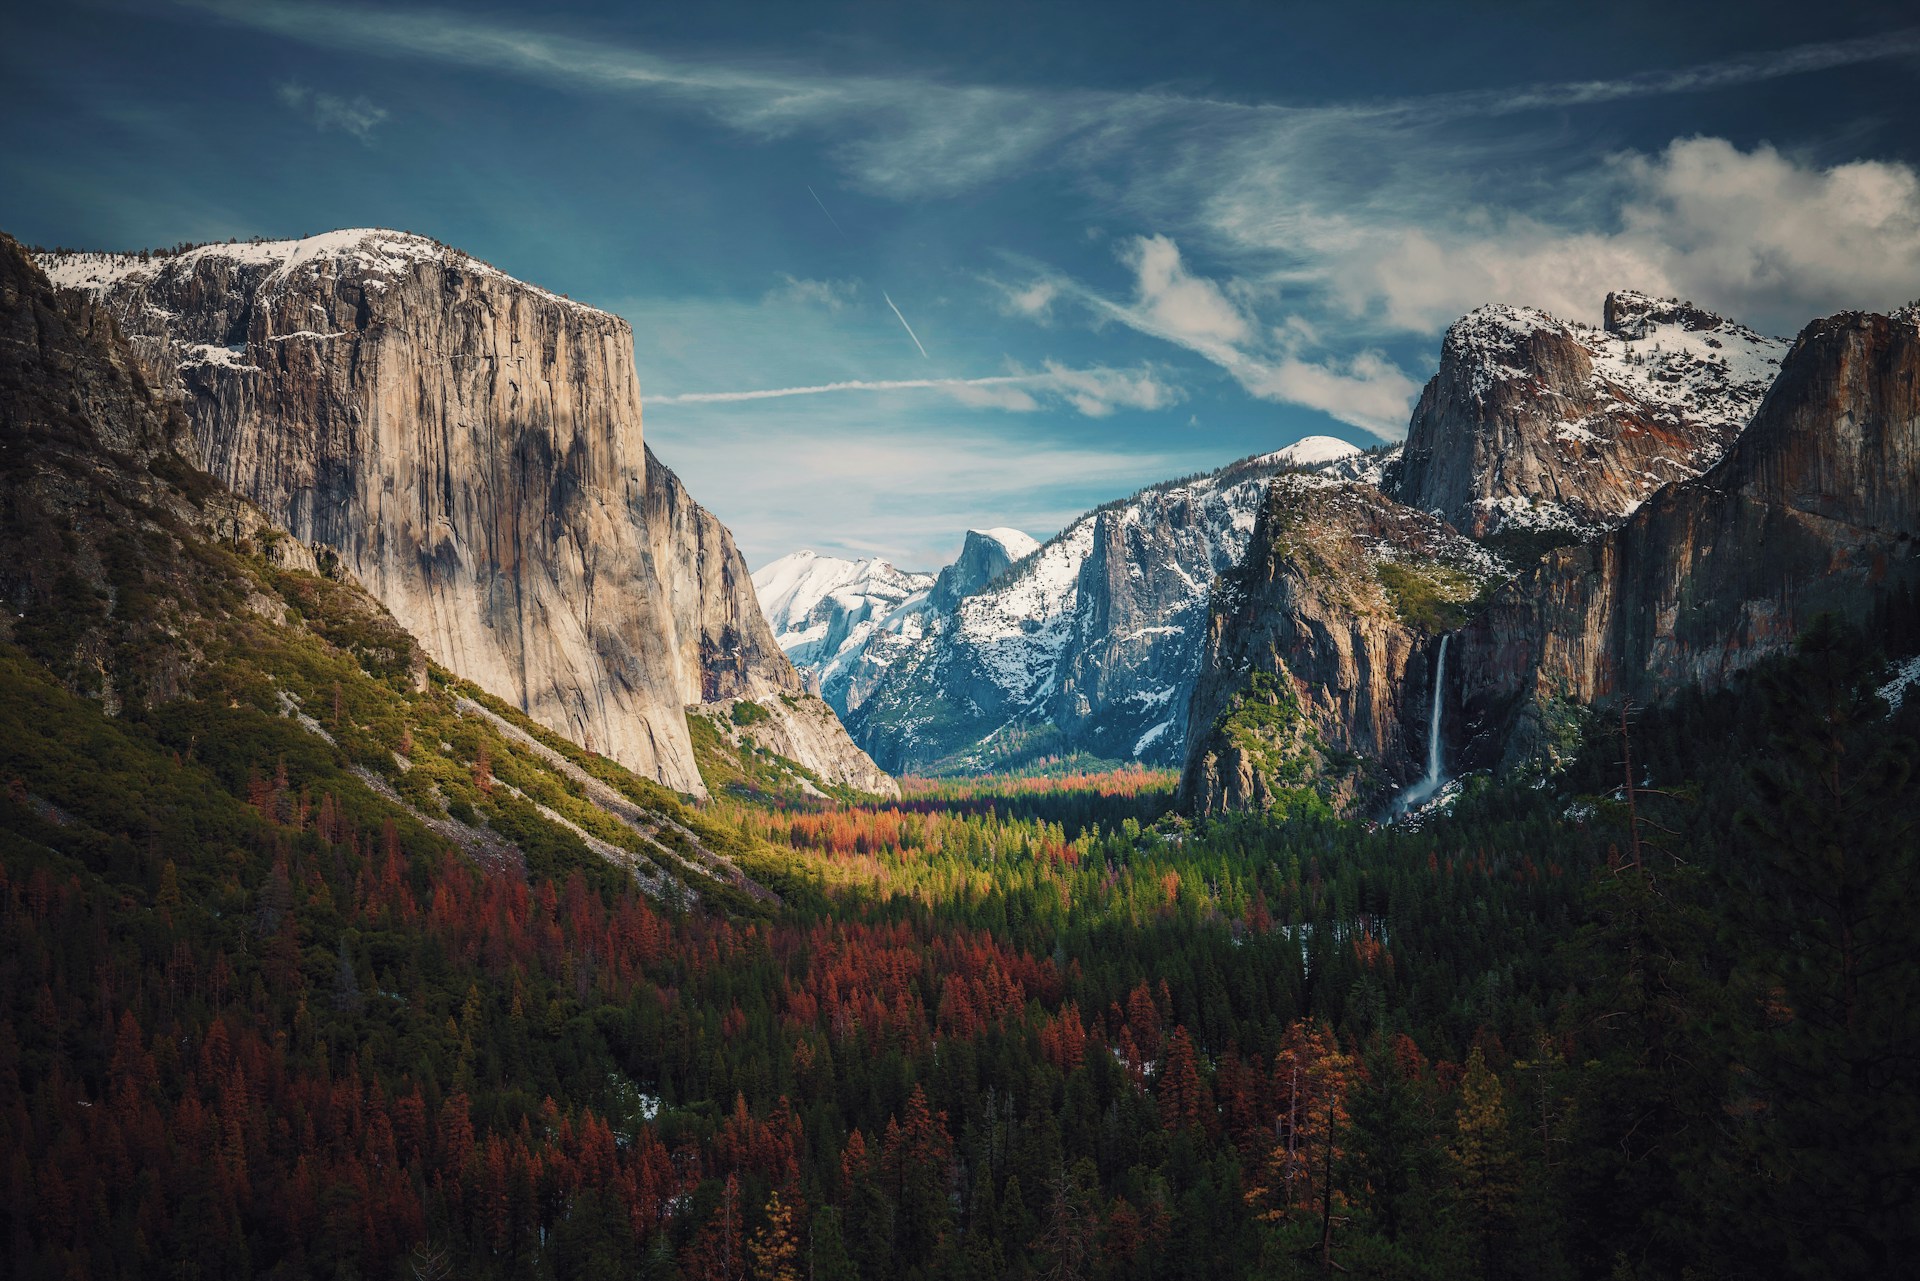
At the heart of any professional landscape kit is a camera body capable of handling the extreme demands of the natural world. While modern smartphones have made significant strides, they often falter when tasked with the high dynamic range (HDR) required to capture both a bright, sunlit sky and a dark, shadowed forest floor in a single frame.
For the landscape specialist, high-performance sensors are paramount. When evaluating a camera, prioritize two key specifications: dynamic range and high-ISO performance. A camera with high dynamic range allows you to pull more information out of the raw file during post-processing, ensuring that your shadows aren’t muddy and your highlights aren’t blown out. Similarly, high-ISO performance is critical for those who prefer to shoot in the "golden hours" or during the transition into blue hour, where light levels drop rapidly. While techniques like exposure bracketing, the use of graduated neutral density (ND) filters, and tripod-assisted long exposures can mitigate technical shortcomings, a camera built for landscapes provides a much higher "ceiling" for quality and creative control.
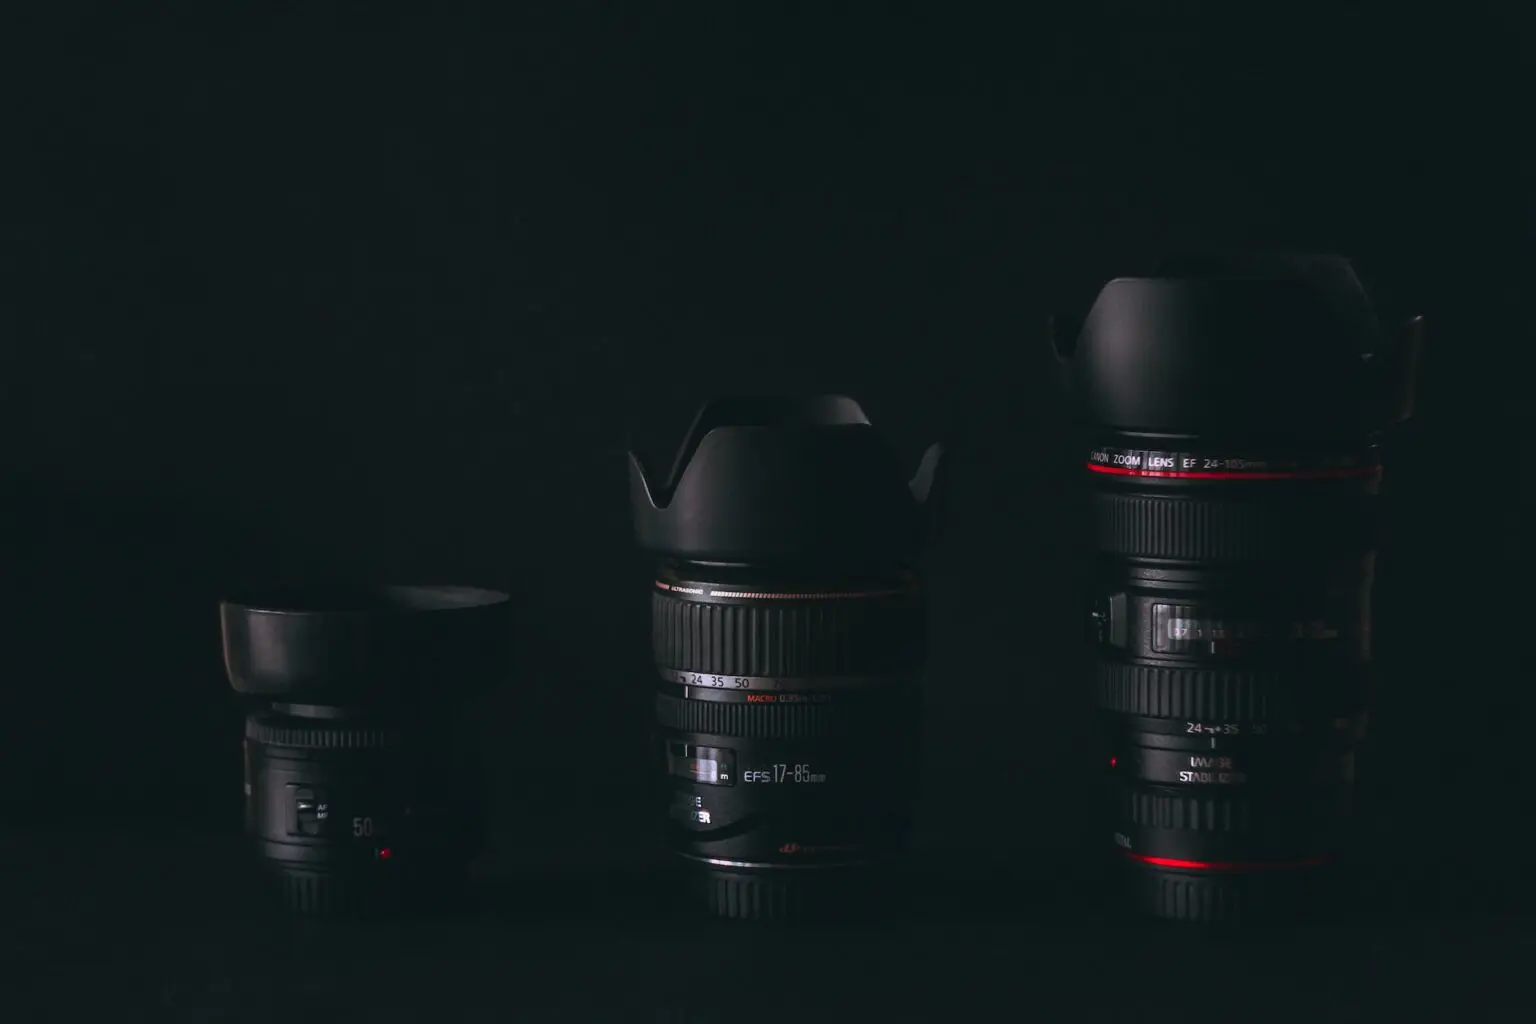
Beyond the Wide Angle: Rethinking Focal Lengths
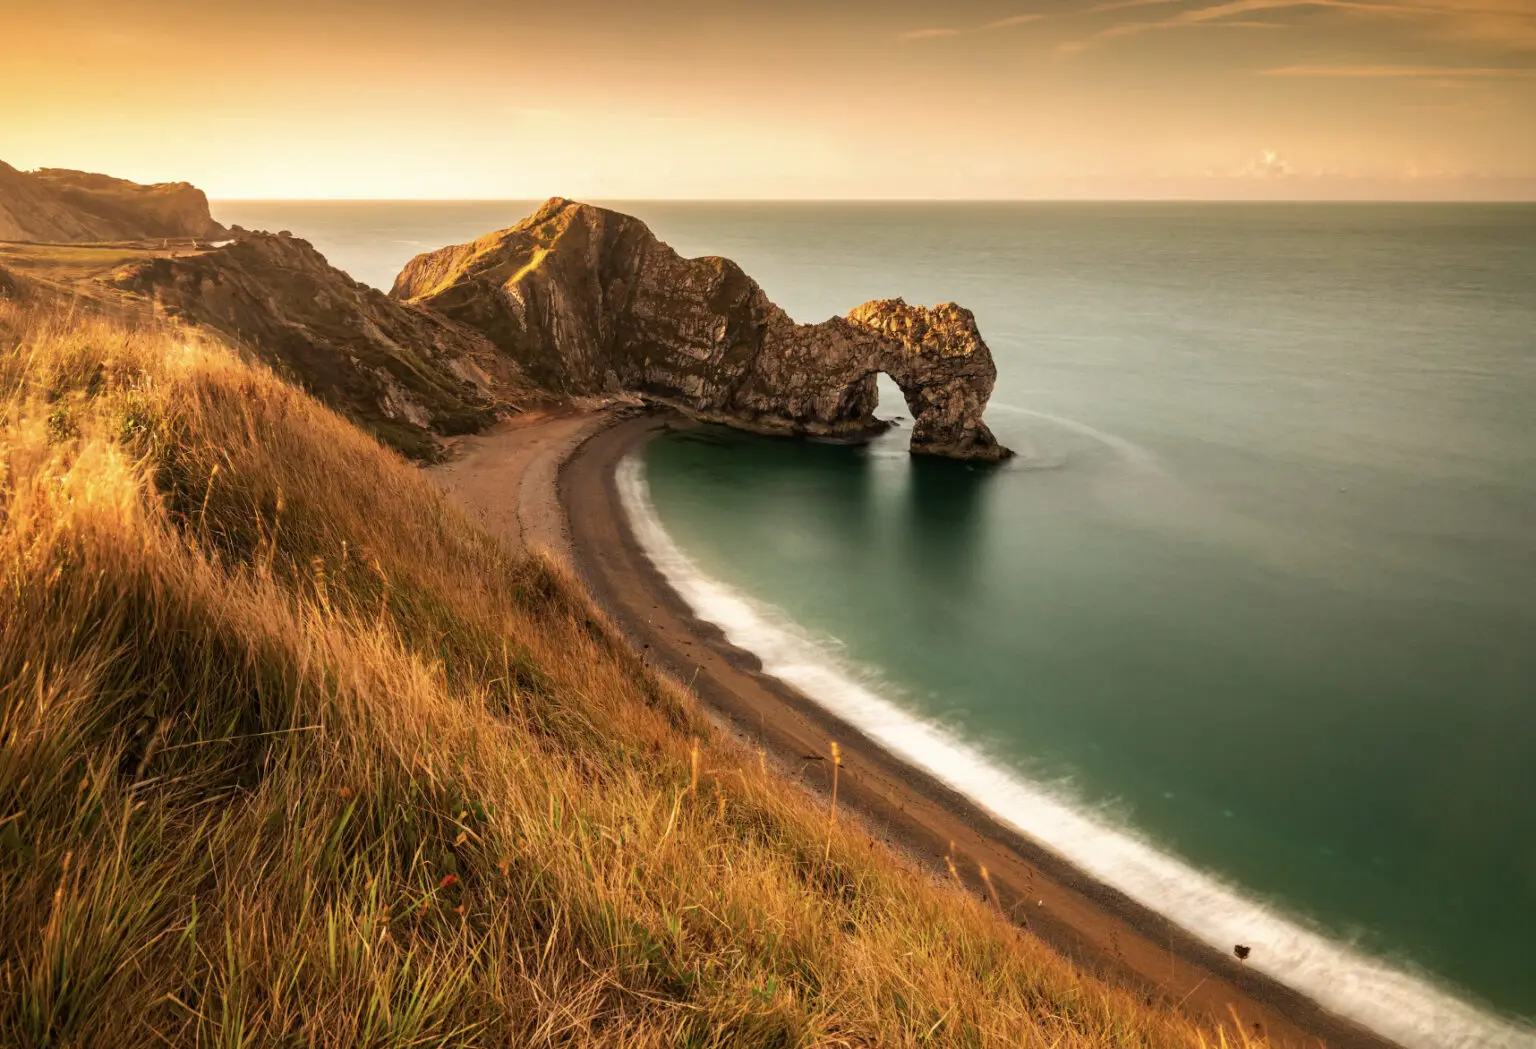
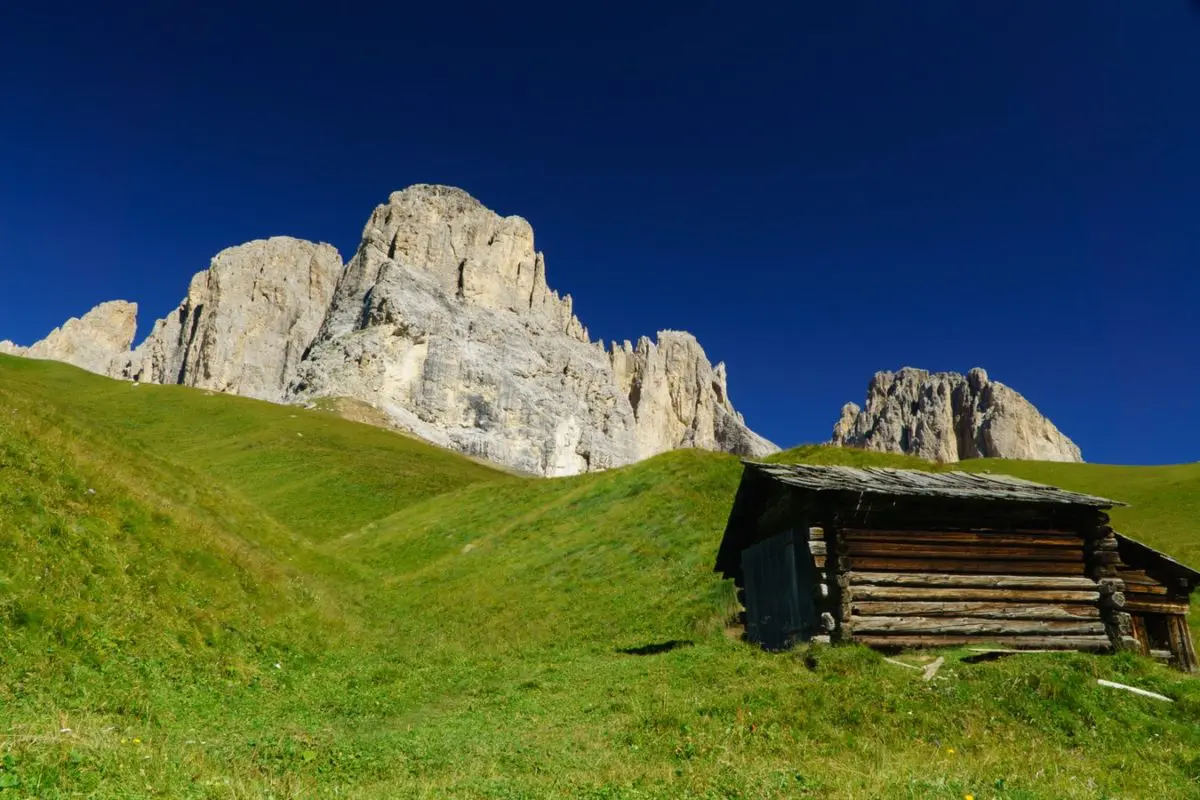
For decades, the standard approach to landscape photography was to reach for the widest lens possible. The goal was simple: fit as much of the majestic scenery into the frame as possible. While wide-angle lenses remain indispensable for capturing the sheer scale of a canyon or the vastness of a desert, they are not the only tool for the job.
Modern landscape photography has evolved to embrace a more curated, intimate approach. By slowing down and scanning a scene, you can often find smaller, compelling details—a jagged rock formation, the curve of a distant ridge, or the interplay of light on a forest canopy. This is where moderate and telephoto lenses shine. Using a telephoto lens allows for "landscape compression," a technique that makes distant background elements appear larger and closer to the foreground, creating a sense of depth and focus that a wide-angle lens simply cannot replicate. By diversifying your focal lengths, you move from merely documenting a vista to interpreting it, often walking away from a single location with a dozen unique compositions instead of just one.
The Necessity of Stability: Tripods and Support Systems
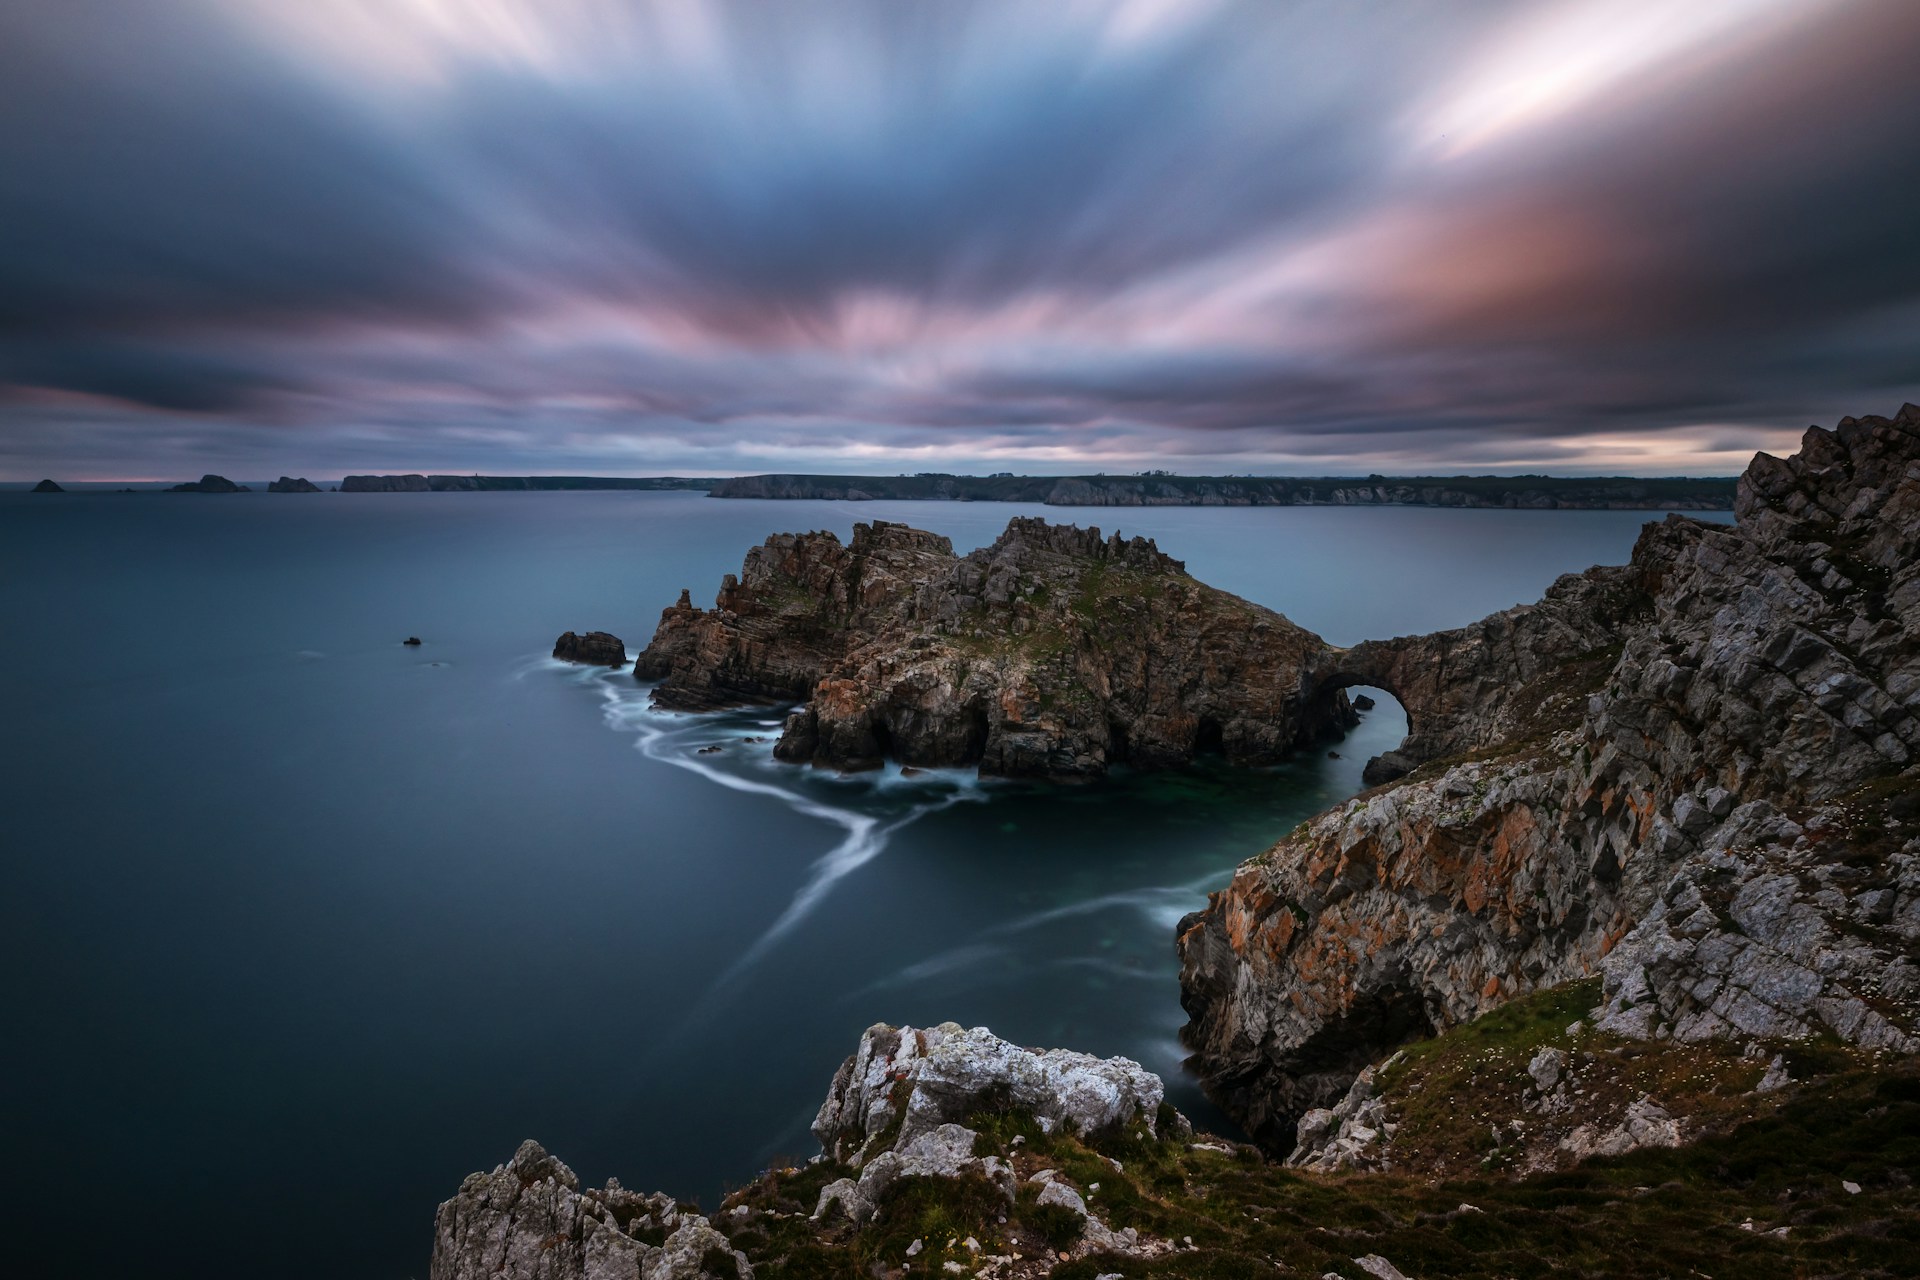
The mere mention of a tripod can cause a seasoned hiker to groan, but it remains the single most transformative piece of equipment in a landscape photographer’s arsenal. Stability is not just about avoiding camera shake; it is a mindset. A tripod forces you to slow down, evaluate your composition, and wait for the perfect moment.
For those who view weight as a primary concern, the market has responded with a new generation of carbon fiber, ultra-lightweight tripods that can be strapped to the side of a hiking pack without compromising structural integrity. If a full-sized tripod is truly not feasible, alternatives like Gorillapods or small-profile "platypods" offer a compromise, allowing for stable shots on uneven terrain, provided the camera-lens combination is balanced correctly. Whether you are pursuing long-exposure photography—where even a micro-vibration can ruin a shot—or simply seeking the sharpest possible image at a low ISO, a stable base is non-negotiable.

Precision Control: The Remote Shutter Release
If you have invested in a high-quality tripod, the next logical step is to eliminate the final variable in camera shake: your own finger. Pressing the shutter button physically exerts pressure on the camera, which, at longer shutter speeds, introduces enough vibration to soften an image.
A remote shutter release—whether a simple cable attachment or a sophisticated wireless remote—is a small, inexpensive, yet vital tool. By triggering the camera from a distance, you ensure that the camera remains perfectly still during the exposure. This is particularly crucial for long-exposure work, such as capturing the smooth, silk-like flow of a stream or the motion of clouds. Furthermore, using a remote release allows you to keep your eye on the scene rather than the viewfinder, letting you react to changing weather or light conditions in real-time.

Manipulating Light: The Role of ND and Polarizing Filters
Once you have mastered the basics of composition and stability, the world of light manipulation opens up. Two filters are essential for the serious landscape photographer: the Neutral Density (ND) filter and the Circular Polarizer (CPL).
- Neutral Density Filters: Think of these as "sunglasses for your lens." They reduce the amount of light entering the sensor, forcing your camera to use a longer shutter speed. This is the secret behind the "dreamy" look of water and moving clouds. Depending on your needs, you can choose from fixed-strength ND filters or variable ones that allow you to adjust the light reduction on the fly.
- Polarizing Filters: These are the ultimate tools for cutting glare and enhancing contrast. By rotating the filter, you can eliminate reflections on water, make wet rocks appear deeper in color, and make the sky appear a richer, deeper blue. The golden rule for polarizers is that they are most effective when shooting at a 90-degree angle to the sun.
Planning the Perfect Shot: The Digital Advantage
In the past, landscape photography was a game of chance. You would hike for hours, only to find the sun behind a cloud or the light hitting the wrong side of the mountain. Today, digital tools have turned landscape photography into a science of prediction.
Applications like The Photographer’s Ephemeris and PhotoPills have revolutionized the field. These apps allow you to simulate the position of the sun, moon, and stars at any location on earth at any time of day. You can visualize exactly where the light will strike a mountain peak, plan for the Milky Way to align with a specific landmark, or calculate the exact hyperfocal distance needed to keep your foreground and background perfectly sharp. Leveraging this technology doesn’t remove the artistry of photography; it ensures that when you arrive on site, you are prepared to make the most of the fleeting conditions.
A Final Checklist for Consistency
The final piece of advice for the aspiring landscape photographer is to develop a consistent workflow. It is easy to get caught up in the excitement of a beautiful location and neglect the technical fundamentals. Before pressing the shutter, take a moment to run through a mental checklist:
- Check your ISO: Are you at the lowest native setting for maximum image quality?
- Verify your focus: Is your focal point set to maximize depth of field?
- Check your histogram: Is your exposure balanced, or are you losing detail in the shadows or highlights?
- Review your stability: Is the tripod locked? Is the remote trigger ready?
Landscape photography is a journey of patience, preparation, and passion. By investing in the right gear and adopting a thoughtful, methodical approach, you will find that your images not only improve in technical quality but also in their ability to tell a story of the natural world.


