The Art and Science of the Classic Candy Apple: A Culinary and Cultural History of Autumn’s Defining Treat

As the crisp winds of autumn sweep across the landscape, signaling the arrival of sweater weather, crunching leaves, and pumpkin patches, another quintessential tradition returns to front and center stage: the red candy apple. With its brilliant, high-gloss veneer, satisfyingly hard candy shell, and a tart, crisp fruit center, this iconic treat evokes instant nostalgia. Whether crafted in the aftermath of a brisk afternoon spent apple picking, served as the centerpiece of a neighborhood Halloween party, or simply whipped up on a whim to reconnect with childhood memories, homemade candy apples remain an enduring seasonal favorite.
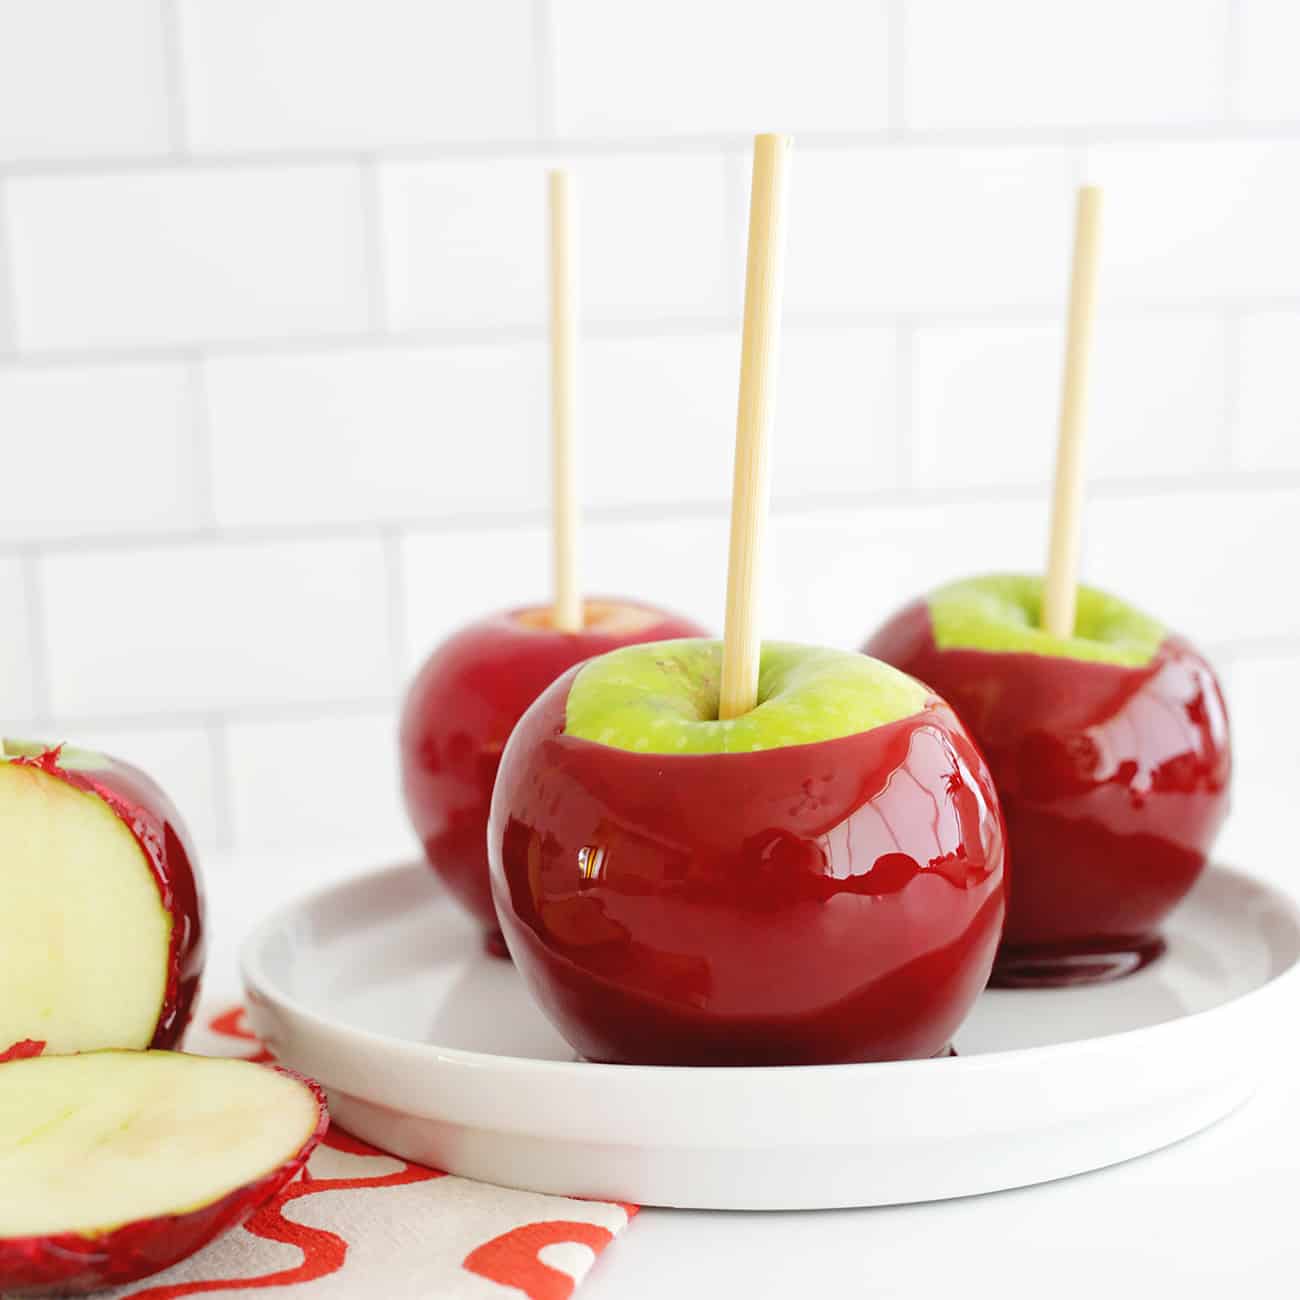
While their glossy exterior and mirror-like finish can appear intimidating to replicate at home, making candy apples is surprisingly straightforward. However, it requires precision, patience, and a healthy respect for high-temperature confectionery. Confectionery experts and culinary historians alike note that while the process is accessible, the extreme heat demands careful safety protocols, making it a project best reserved for adults in the kitchen, leaving the joyful consumption to eager children.
Main Facts: Anatomy of a Tradition
What Is a Candy Apple?
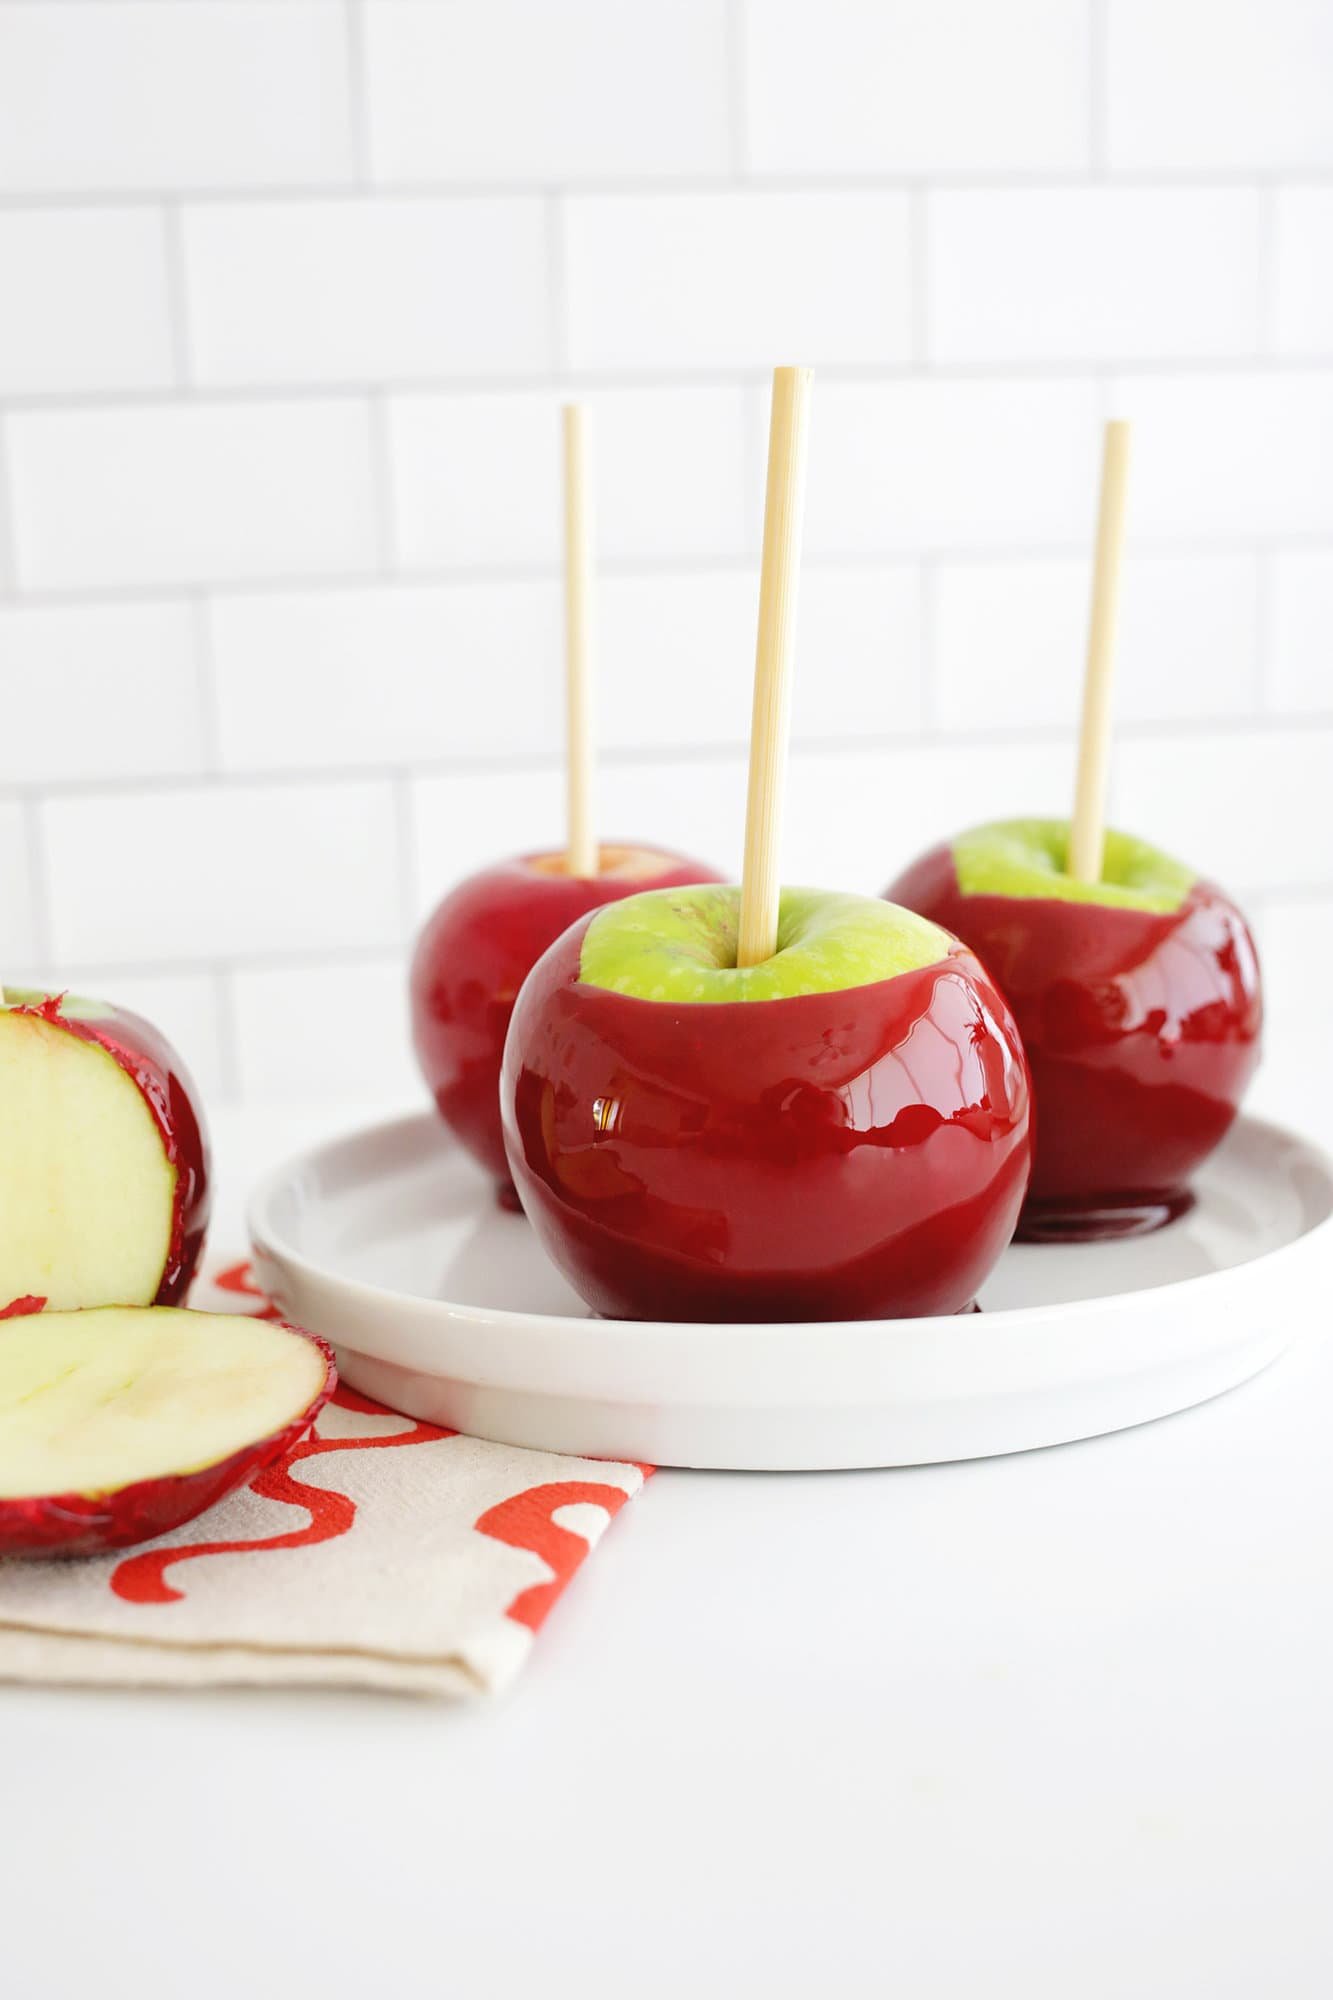
At its core, a candy apple consists of a whole, firm apple mounted securely on a wooden stick, dipped into a boiling sugar syrup that is heated to the "hard crack" stage. As the syrup cools and sets, it forms a brilliantly shiny, shatteringly crisp sugar shell. While traditionally colored a vibrant, ruby-red, modern variations feature an array of hues, or incorporate cinnamon flavoring to mimic the nostalgic taste of classic Red Hots candies.
The Historical Origin
The candy apple’s history dates back more than a century. Food historians attribute the invention to William Kolb, a Newark, New Jersey candy maker. In 1908, Kolb experimented with a batch of cinnamon hard candy meant for the holiday season. Dipping a few apples into the molten red mixture and placing them in his shop window as a display, he sold out of his entire stock the very next day at five cents apiece. The treat quickly became a staple of autumn carnivals, boardwalks, and county fairs across the United States.
Essential Selection Criteria: Choosing the Right Apple
Achieving the ultimate candy apple begins in the produce aisle. Culinary professionals emphasize that fruit selection dictates the final balance of flavor and structural integrity:
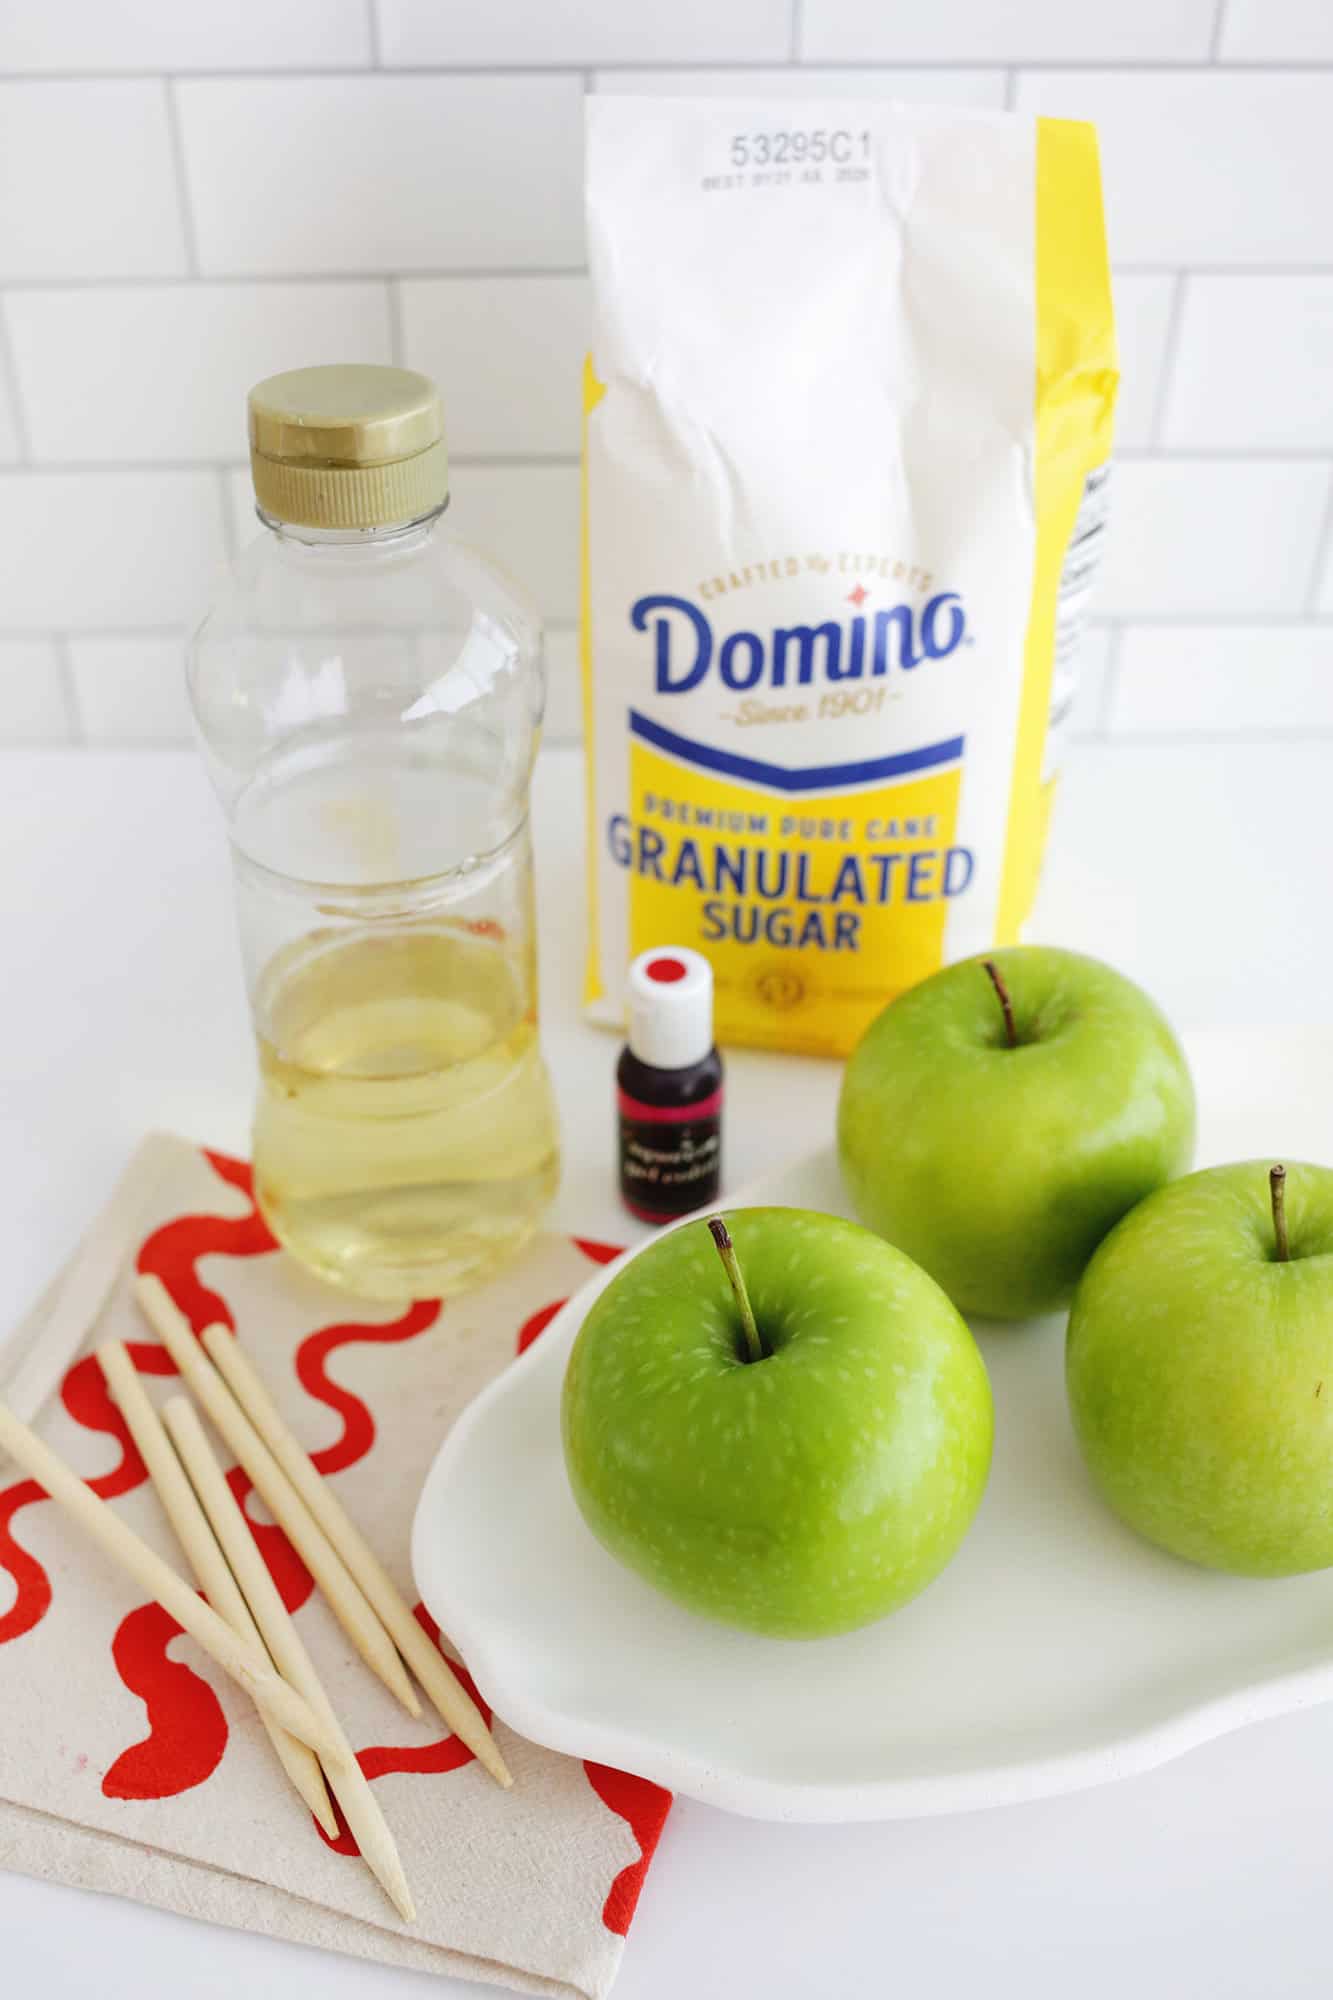
- The Tart Favorite: Granny Smith apples are widely considered the gold standard. Their sharp, bright acidity provides a magnificent counterpoint to the intensely sweet sugar shell.
- Firm Alternatives: If tart isn’t your preference, firm-fleshed sweet varieties such as Gala, Fuji, or Honeycrisp perform exceptionally well.
- What to Avoid: Soft-fleshed apples, such as McIntosh, should be strictly avoided. Their moisture content and soft texture break down too quickly underneath the hot sugar coating.
Chronology: The Step-by-Step Culinary Process
Creating professional-grade candy apples at home is a lesson in chemistry and timing. Follow this chronological blueprint to ensure success.
Phase 1: Apple Preparation
The single biggest culprit behind failed candy apples—manifesting as unsightly bubbles, cracks, or a coating that slides right off the fruit—is residual orchard wax and moisture.
- Stripping the Wax: Commercial apples are coated in food-grade wax to retain moisture and improve shelf life. To remove this barrier, scrub apples vigorously with a clean, textured kitchen scrubber under hot running water. Alternatively, dip the apples briefly into boiling water for no more than 5 seconds, then rub them dry with a textured towel. Caution: Do not submerge the apples for longer than 8 to 10 seconds, or the interior fruit will begin to cook.
- Drying Completely: Ensure the apples are 100% dry. Even microscopic amounts of water will cause the boiling sugar syrup to splatter, form bubbles, and ruin the smooth, glossy finish.
- Inserting Skewers: Firmly push wooden skewers or sturdy lollipop sticks about halfway into the stem end of each prepared apple. Set them aside on a clean surface.
Phase 2: Setting Up the Workspace
- Prepare the Pan: Line a baking sheet with parchment paper, a silicone baking mat, or wax paper. Generously coat the surface with nonstick cooking spray or a thin layer of butter to prevent the hot sugar from permanently bonding to the paper.
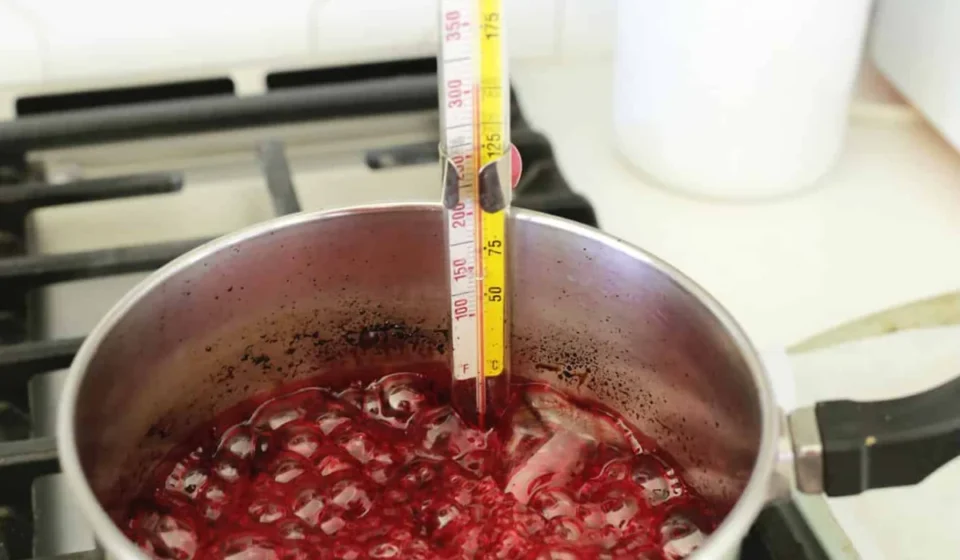
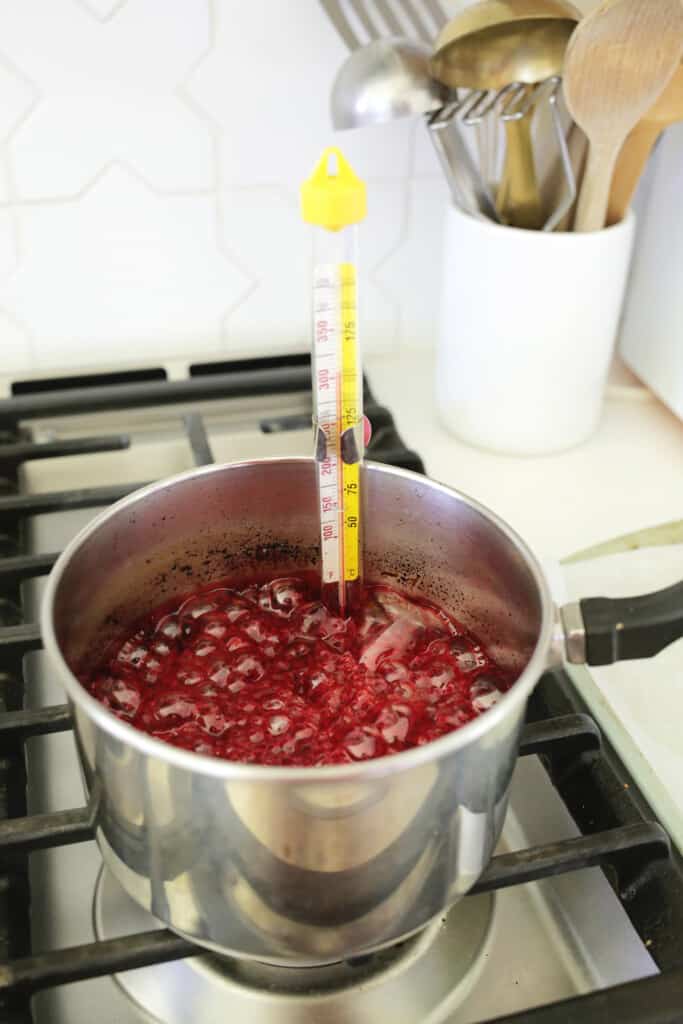
- Equip the Stove: Clip a candy thermometer to the side of a medium saucepan. Ensure the tip of the thermometer is submerged in the liquid but not touching the bottom of the pot, which would result in a falsely elevated temperature reading.
Phase 3: Cooking the Candy Coating
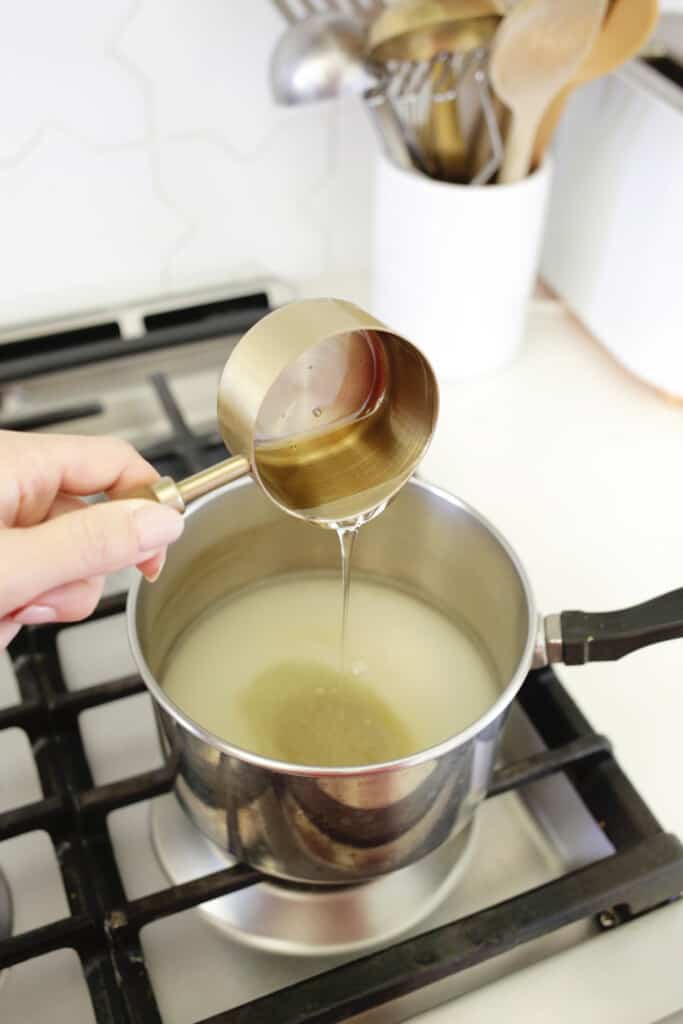
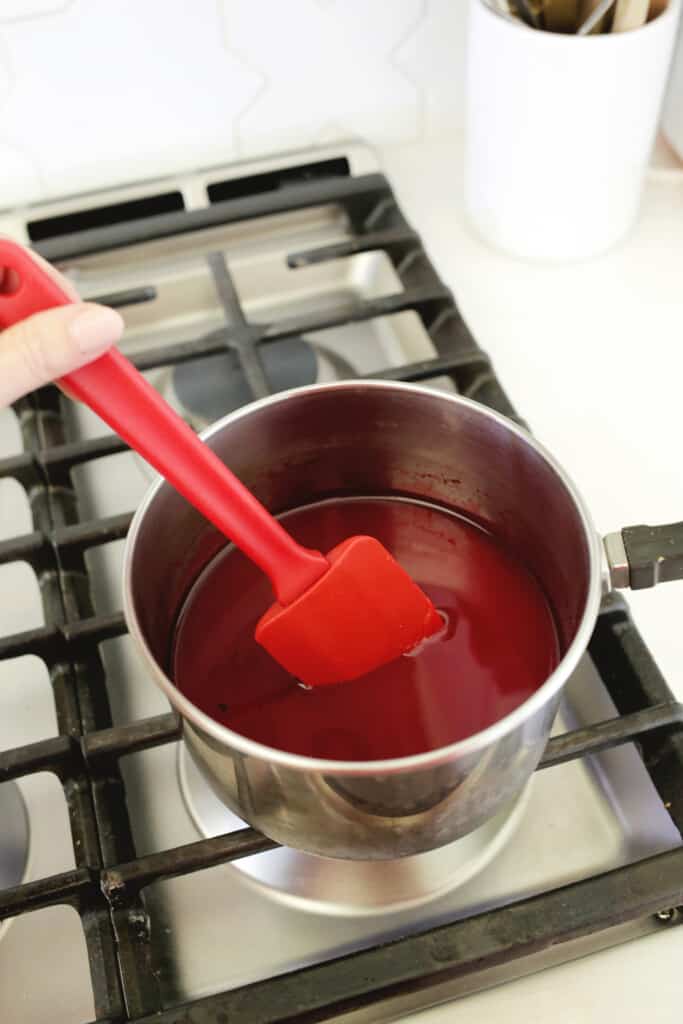
- Combine Ingredients: In the saucepan, mix granulated sugar, water, light corn syrup, and your chosen food coloring over medium heat. Stir continuously with a wooden spoon or silicone spatula until the sugar completely dissolves.
- The Boil: Bring the mixture to a rolling boil over medium-high heat. Allow it to cook undisturbed for roughly 15 to 20 minutes, monitoring the candy thermometer closely.
- Reaching the Hard Crack Stage: Continue boiling until the thermometer registers between 300°F and 310°F. Once this target is reached, immediately remove the pan from the heat source and let it sit for about 60 seconds to allow the surface bubbles to subside.
Phase 4: Dipping and Cooling
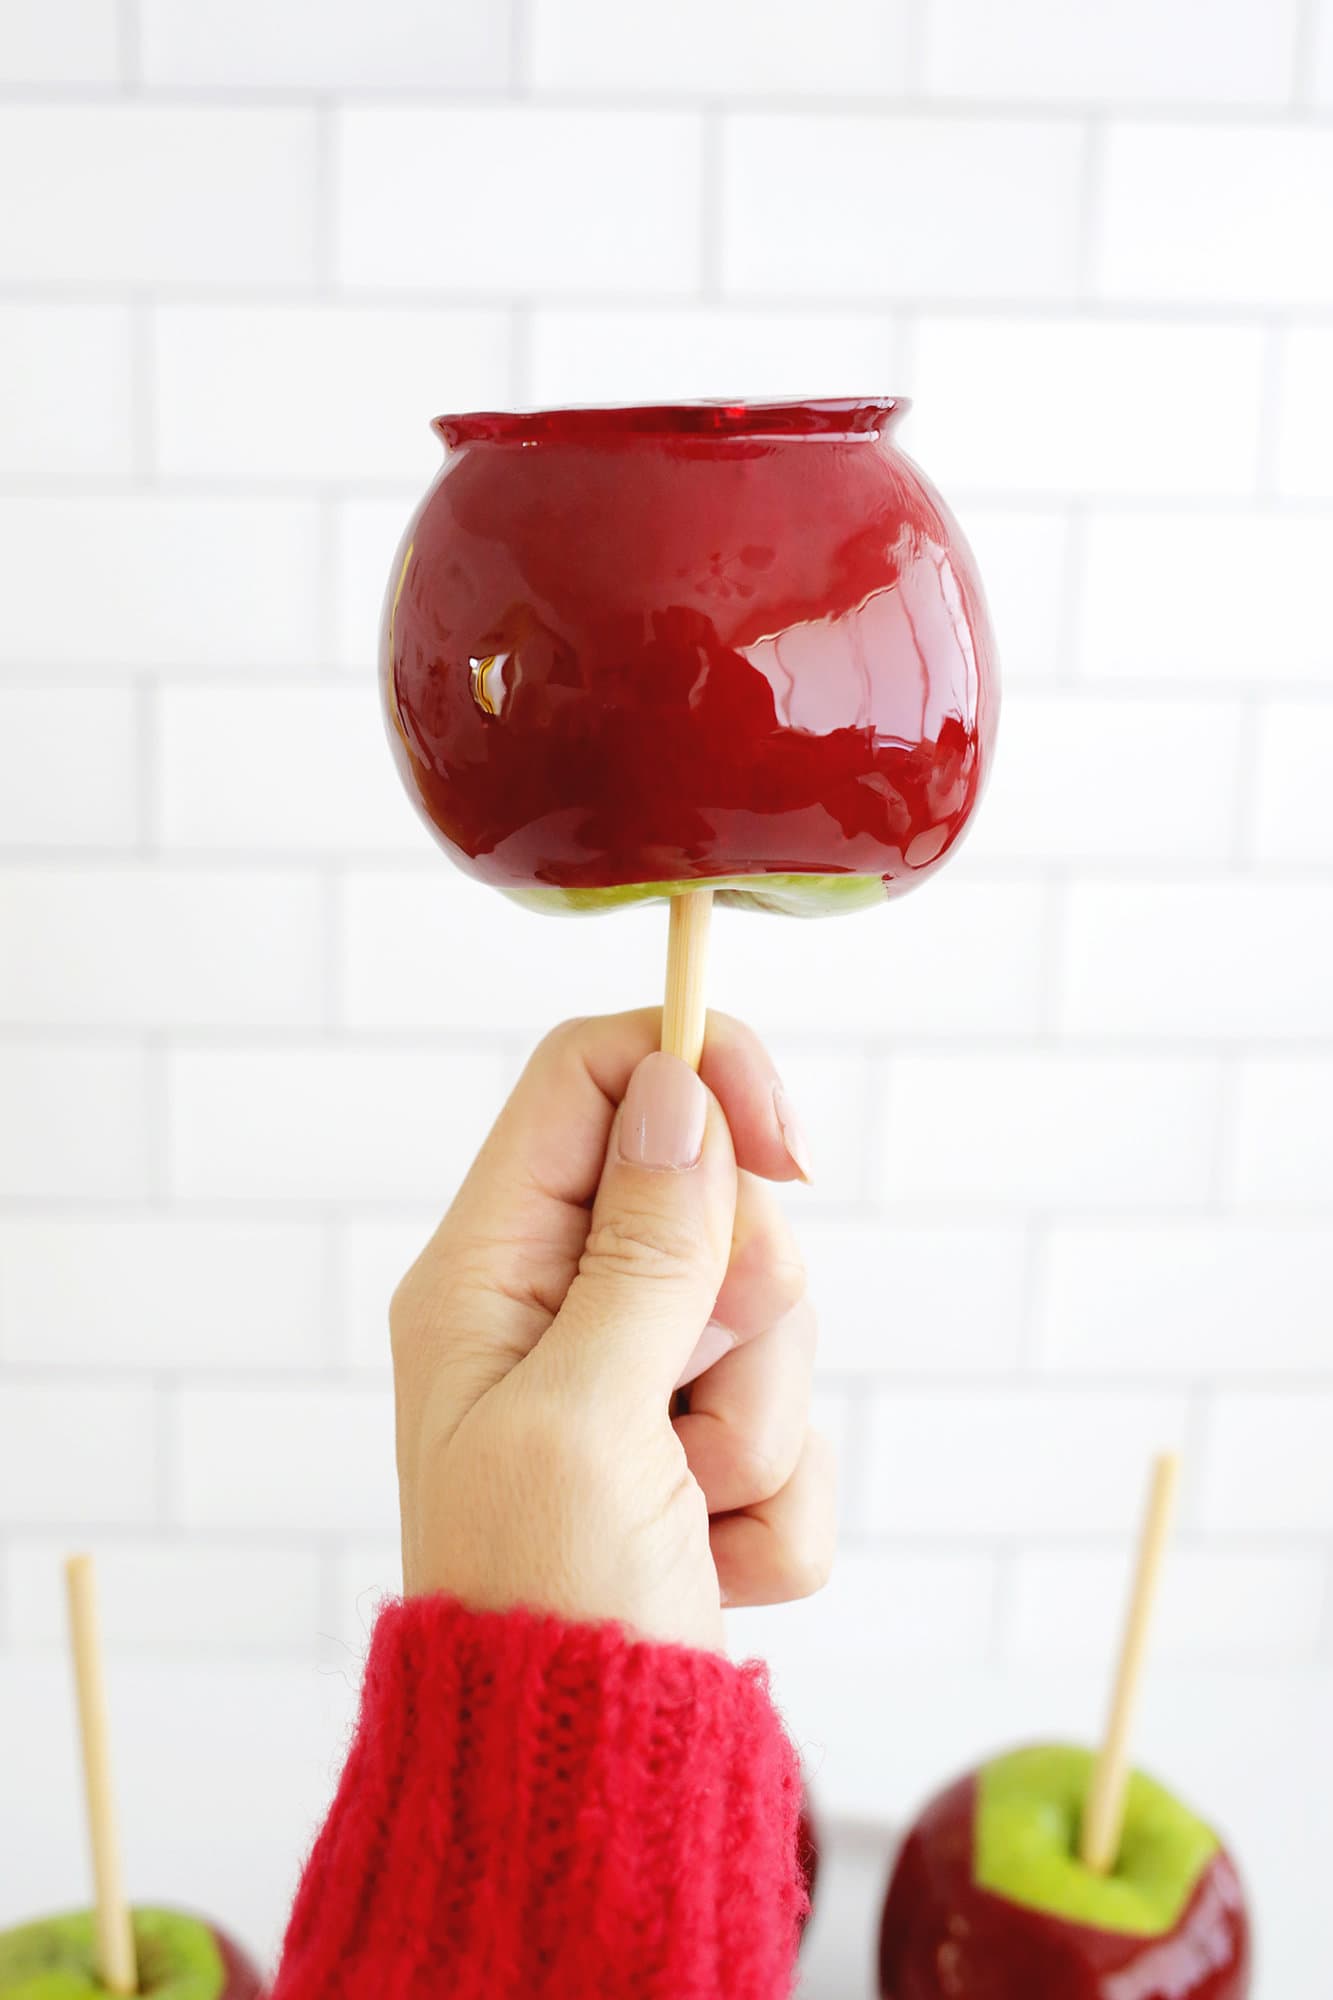
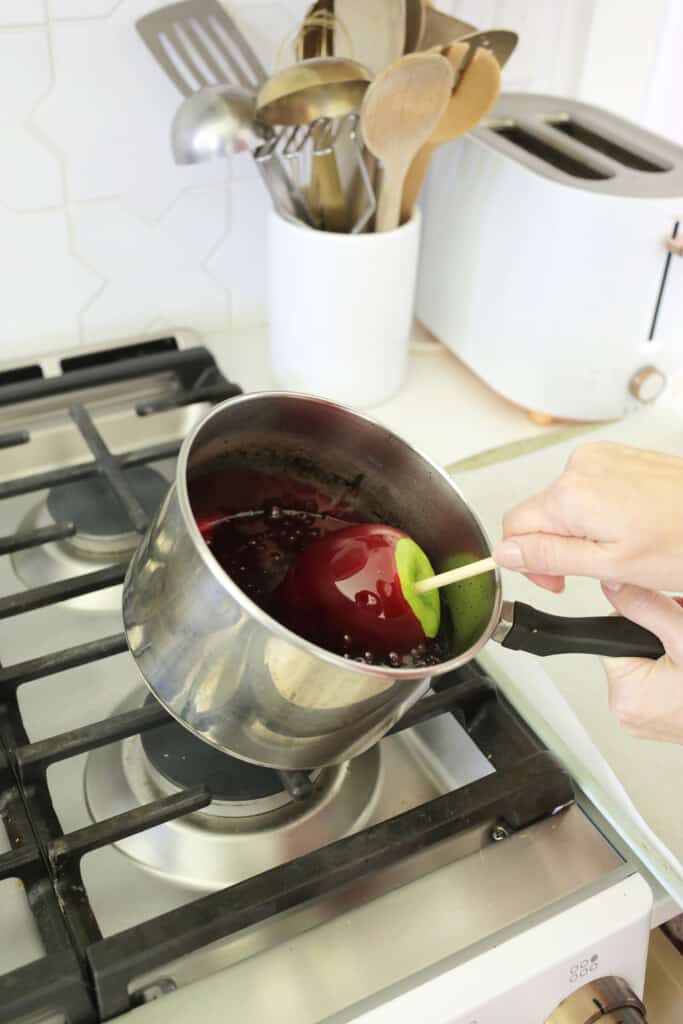
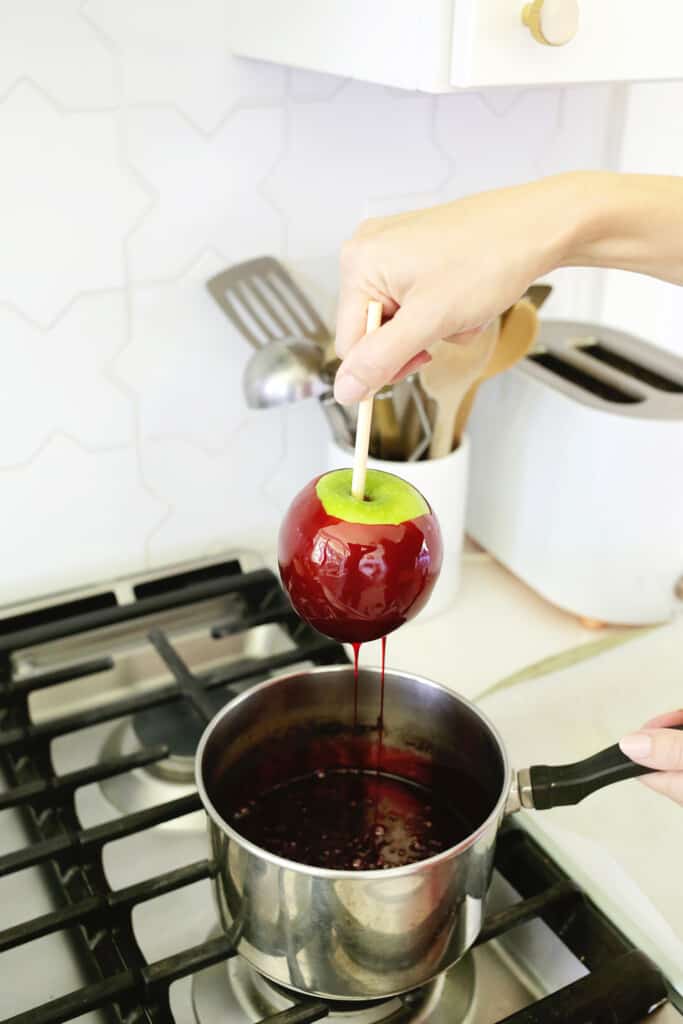
- The Dip: Working swiftly and carefully, tilt the saucepan at a 45-degree angle. Submerge one apple at a time into the molten syrup, rotating it smoothly to ensure an even, complete coating.
- Draining Excess: Lift the apple out of the syrup, holding it above the pot for a few seconds to let excess sugar drip back down.
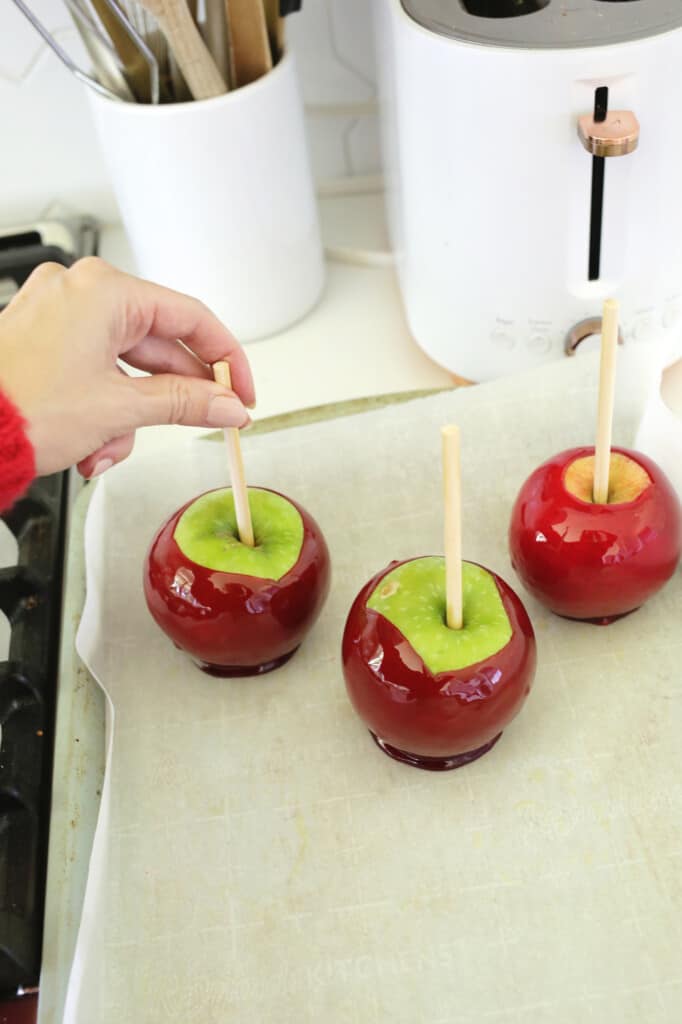
- Setting: Transfer the coated apple to your prepared, greased baking sheet. Repeat the process for remaining apples. Note: If the syrup begins to thicken and harden while you are still working, return the pot to low heat for a brief moment to thin the mixture out.
- Final Cooling: Allow the candy shells to cool undisturbed at room temperature for a few minutes until completely hardened.
Supporting Data & Technical Specifications
To master candy making, understanding the technical definitions behind the process is vital.
What is the "Hard Crack" Stage?
In confectionery science, sugar syrups undergo distinct physical transformations as water evaporates and temperatures rise. The hard crack stage (occurring between 300°F and 310°F) represents one of the highest temperature thresholds in candy making. At this point, virtually all water content has boiled out of the sugar-and-corn-syrup solution. Upon cooling, the molecules lock into a rigid, brittle crystalline structure that snaps cleanly rather than bending or remaining chewy like taffy or caramel.
Nutritional Profile (Per Serving / One Average Candy Apple)
- Note: Nutritional values are auto-calculated estimates based on standard recipes using granulated sugar, corn syrup, and a medium Granny Smith apple.
- Calories: ~250–300 kcal
- Total Fat: 0g
- Sodium: 0mg
- Total Carbohydrates: ~65g–75g
- Sugars: ~60g–70g
- Protein: <1g
Official Safety Guidelines & Best Practices
Working with sugar heated past 300°F is hazardous. Molten sugar adheres aggressively to skin and retains thermal energy, making it capable of causing severe burns.
Essential Safety Protocols
- No Children in the Kitchen: Keep young children entirely away from the stove during the boiling and dipping phases. Let them participate in the fun by selecting apples or eating the finished product.
- Keep Ice Water Nearby: Keep a large bowl of ice water immediately adjacent to your workspace. In the event of accidental contact with hot sugar, plunge the affected skin into the ice water instantly to cool the burn.
- Wear Protective Gear: Consider wearing heat-proof silicone cooking gloves to protect your hands and wrists from hot splashes or steam.
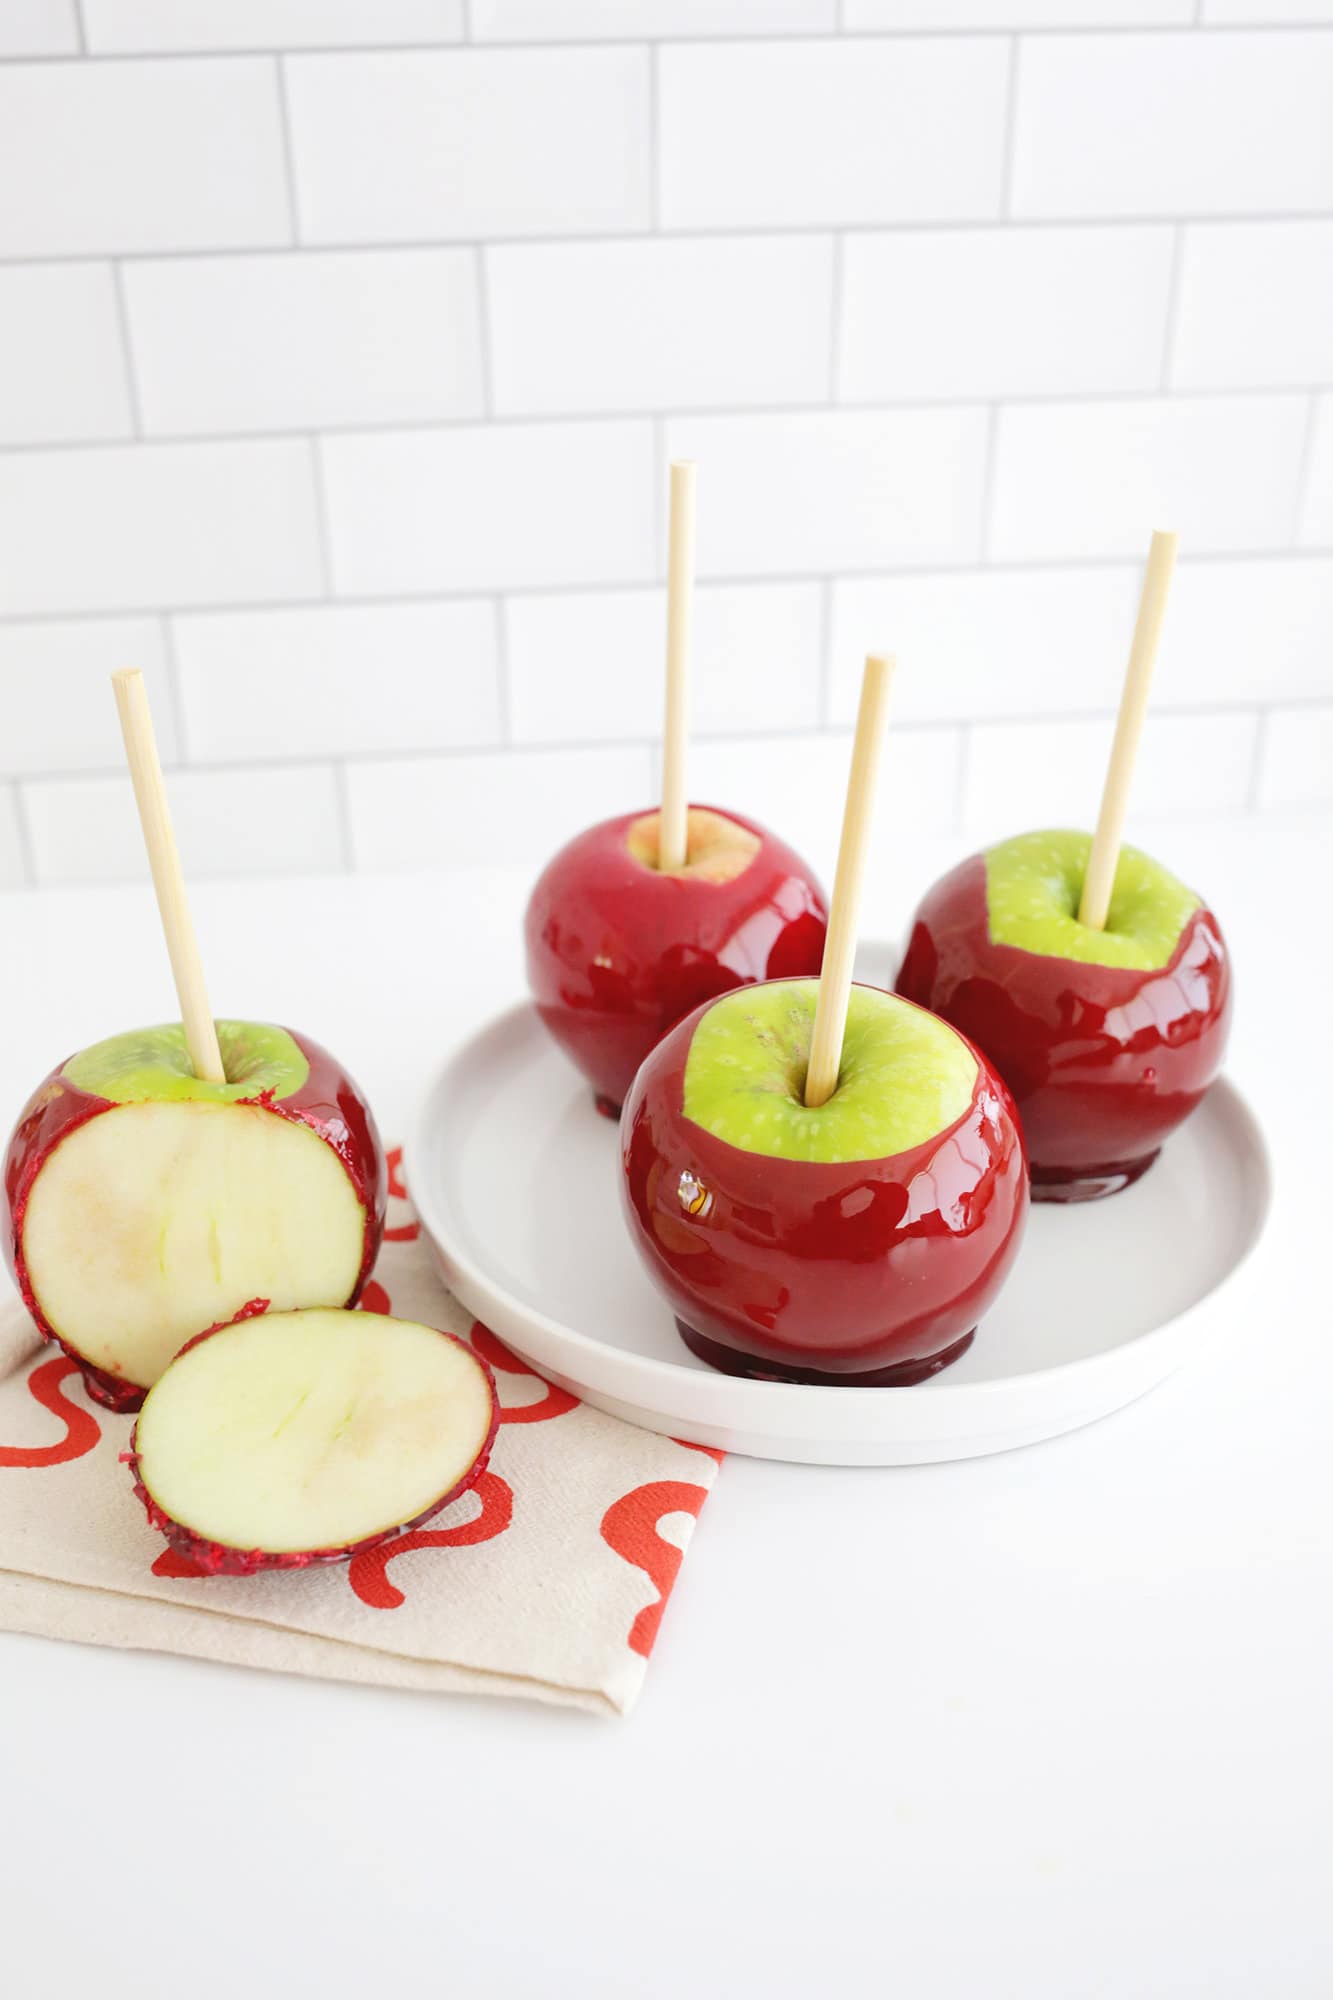
- Dining Safety: Biting directly into a hard candy apple can pose risks to dental work, crowns, and teeth. While children often enjoy licking the surface like a giant lollipop, the most practical and tooth-safe method for consumption is to use a sharp chef’s knife to slice the apple away from the core before serving.
Implications: Troubleshooting, Storage, and Cleanup
How to Avoid Common Pitfalls
- Bubbles in the Coating: If your apples emerge with a bubbly, cloudy finish, it is typically caused by residual fruit wax, damp apples, or stirring the syrup too vigorously while it boiled. Adhering strictly to the wax-removal and drying protocols eliminates this issue.
- Sticky Storage: Candy apples are best consumed within the first 24 hours of preparation. For short-term storage, place them in an airtight container in the refrigerator for up to three days. Beyond 72 hours, the puncture site where the skewer entered the apple begins to oxidize, introducing moisture that softens the apple interior and degrades the sugar shell.
The Art of Post-Cooking Cleanup
Staring at a saucepan lined with hardened, rock-solid sugar can cause instant dread, but cleaning it is deceptively simple.
- The Water Bath: Fill the saucepan with water and place it back on the stove over medium heat.
- Dissolving the Sugar: Bring the water to a gentle simmer. The boiling water will naturally dissolve the hardened sugar crystals within minutes.
- Clearing Splatters: Use a silicone spatula to splash the hot water up the sides of the pot to dissolve any sugar splatters above the waterline. You can also dip your candy thermometer into the warming water to safely melt away hardened residue from the tip.
By blending historical appreciation with precise kitchen techniques, creating homemade candy apples transforms into an accessible, rewarding autumn tradition that bridges generations of sweet-toothed nostalgia.